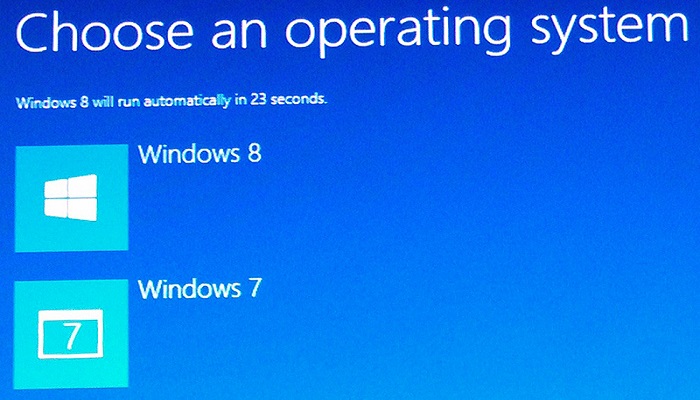
Windows update Error 80246007 occurs in latest Windows operating system like windows 10, while updating or upgrading fails from previous version Windows windows 8 and Windows 7.
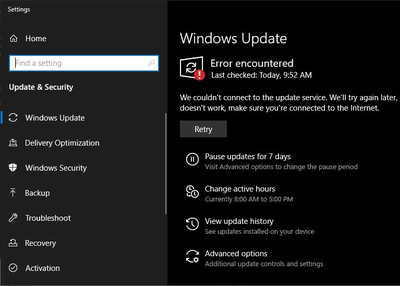
The pic shows the error screen with error code 80246007 in Windows 10.
The solution applies the following versions of Microsoft Windows
Causes of Windows update error 80246007 :
Temp store file location contains active malware
Steps to fix the Troubleshooting Windows update error 80246007:


The pic shows the error screen with error code 80244010 in Windows 10.
Disclaimers: Before you attempt to fix an issue with the windows update, we highly recommend you to take a registry backup and create a system restore point as a precaution method.
In case if something goes wrong, we can restore your computer to the same stage and fix the issues.
In case Windows 10 automatically download the new drivers or you install the new drivers from the downloaded manufacture’s website.to identify your hardware drivers and find suitable drivers from the manufactures and updated manually.
Then open the new window and go to click on advanced system settings.
If you choose the former, Windows will automatically install the driver and ask you to reboot the computer afterward.

This article describes Windows Update error code 80244018.
Disclaimers: Before you attempt to fix an issue with the windows update, we highly recommend you to take a registry back up and create a system restore point as a precaution method.
“Microsoft Security Essentials Error 80244018” is displayed.
Causes of Windows Update Error Code 80244018 :
The WSUS platform being decommissioned or even migrated.
Then download Windows Update Troubleshooter for the particular versions of your operating systems.

When users install the cumulative updates on Windows 10, they might get reported with the 0x8024500c error code.
In general, the above error code shows that the Windows service related to the Windows Update is stopped or restricted due to some reasons.
But you can still download the Windows Updates manually via the official site of Microsoft.
All you need to do is follow the steps given down here–Tap the Start key & then head to Settings.Head to Update & Security.Go to the right panel and press on View Update History.Now you have to find the Quality Updates option and then locate the KB number, which appears to be failed during automated installation.After that, head to Microsoft Download Center & then head to the search bar.Locate the cumulative update edition.Once you find it, download and install the update.Fix 2: Ensure Windows Update Services is RunningThe following details will help you to check the Windows 10 Update services as well as fix the one which is not running: Go to the Start menu and search for Run.Now select the same from results.Enter services.msc into the dialogue box following by the Enter key on your keyboard.When Windows Services appears, find the service mentioned below–Delivery OptimizationBackground Intelligent Transfer Service (BITS)Windows Update Medic ServiceWindows UpdateIn case if any of the above Windows services seem stopped or disabled, you will be required to enable or start it.
When you start the troubleshooter, it would automatically find the issue, and might it also fix the ongoing issues by itself.
Here are the instructions to run the Windows Update Troubleshooter:Press on notification icon located on the right-end on your PC’s Taskbar.Now head to All settings.Head to the Update & Security option.Now press on Troubleshoot.Find the Windows Update link.

The security software company recently made an announcement via posting a blog on www.avg.com/retail mentioning that their security product will no longer be updated with new features for Windows XP and Windows Vista operating systems right from the beginning of the new year.
To get new highlight releases of AVG antivirus, users will be obliged to update their Windows operating system.
Moreover, the organization has developed some top-drawer features for their newly updated Antivirus protection.
For the new 2019 version, avg.com/retail is bringing ahead stronger protection against today’s most widespread and sensitive threats, particularly data breaches and phishing.
Basic credentials of users such as usernames and passwords are more precious than any other thing in today’s environment and cybercriminals are constantly working on every way to crack into your sensitive information from a brute attack to obscured social engineering and everything in between.
AVG activation will be mandatory

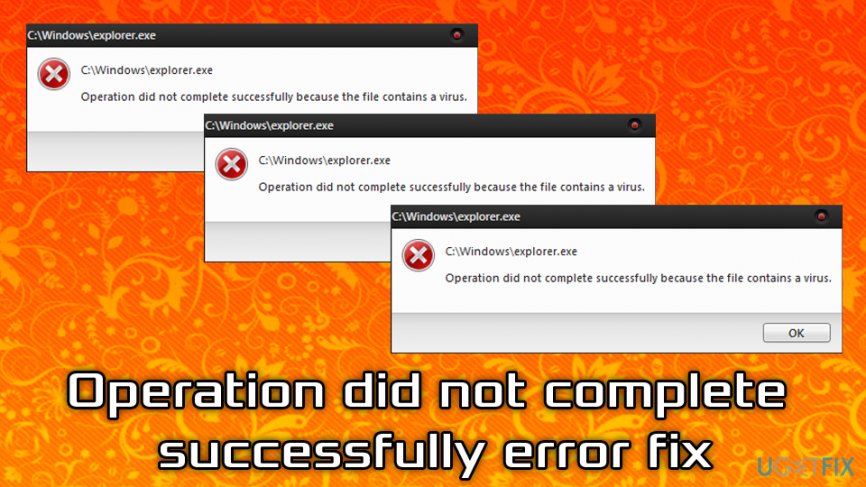
Computer viruses are a security threat and also cause several errors like “ERROR_VIRUS_INFECTED.” This error mainly followed by the “Operation did not complete successfully because the file contains a virus” notification.
In this article will show you how you can easily fix this issue with possible solutions and convenient methods: How to Fix Operation Did Not Complete SuccessfullyChange AntivirusRemoving your antivirus from your operating system is not the best fix, but it can help to fix this issue.
However, sometimes Defender causes the operation did not complete the error.To fix this issue, you need to disable Windows Defender properly on your system.Here are the steps to follow:Tap the Windows + I button on your keyboard to launch the settings application on your device.Under the Settings, select the “Update and security” option, in the left pane, move to the “Window Defender,” and then in the right pane click “Real-time Protection.”After the above process, Window Defender will turn off, and you can run your file without any issue.To completely turn off Windows Defender, you have to edit the registry.Here are the steps to follow:Tap the Windows + R button to open the run command prompt.In the Run command –line type “Regedit” and then tap the “Enter” button or tap “OK.”In the left pane you need to move on:HKEY_LOCAL_MACHINE\SOFTWARE\Policies\Microsoft\Windows Defenderkey.
Locate “DisableAntiSpyware DWORD” in the right pane.
Now type “DisableAntiSpyware” as the new name of DWORD and then double-tap on it.Set the value from 0 to 1 and then click “OK” to save your changes.After the above process Windows Defender will permanently turn off, and you can’t see this error on your device again.If you don’t wish to edit your registry, you can turn off Windows Defender via “Group Policy Editor.”Here are the steps to follow:Tap the Windows + R button on your keyboard and then type “gpedit,msc.” And then, hit the “Enter” button or tap “OK.”When the Group Policy editor appears on the screen, navigate to the left pane and select “Computer Configuration” click “Administration Template” hit Windows Computer” and then click “Windows Defender.In the right pane double-tap on Disable Windows Defender.”Click the “Enable” button and then select “Apply” and hit “OK” to save your changes.Now restart your PC and check for improvement.Add Problematic File into Exclusion ListIf you are facing this error when you are trying to access any files, it is possible that there is a problematic file.
Simply add it to the Exclusion list to fix the problem.Reinstall Antivirus“Operation did not complete successfully” error may occur due to improper installation of antivirus.