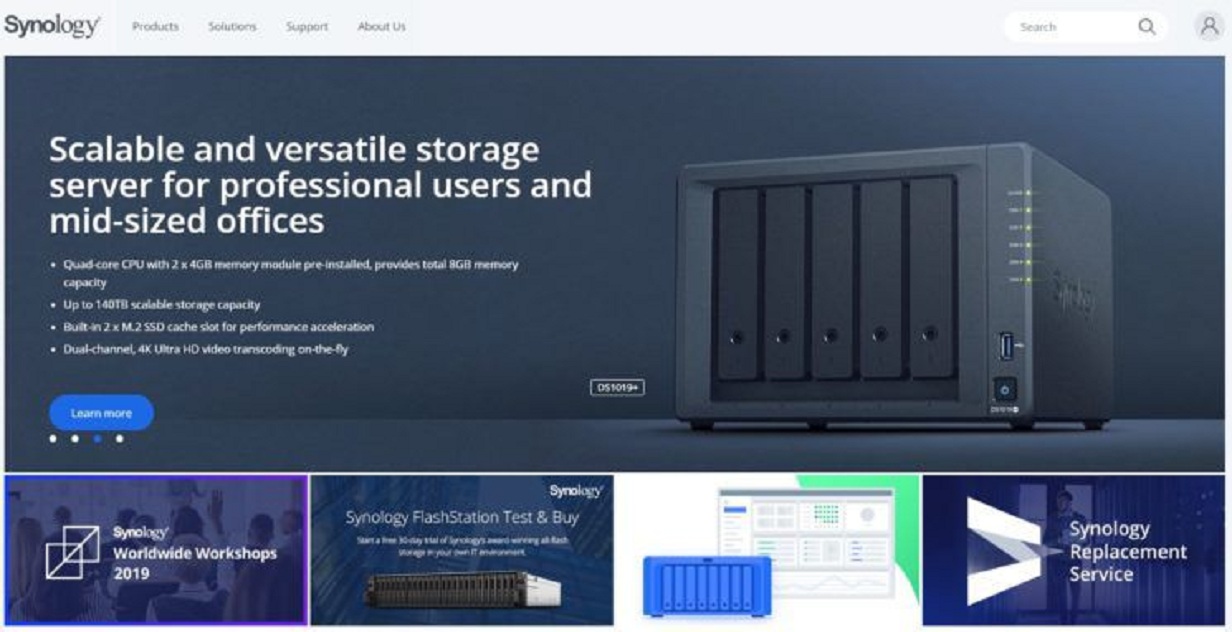
Even though it is easier to allow someone else to manage your data storage, this benefit comes with significant risk. Your data contains a lot of private information and can be compromised. To keep your personal data safe, you should consider getting Synology Diskstation DS1019. If you need help with its initial software set up, then follow the steps given below.

Download and Install Diskstation
- Open the Safari web browser.
- Now, visit the following website – find.synology.com.
- The website will run and scan the network to see if any powered-on Diskstation is attached to the network. It can also identify devices that don’t contain a correctly configured network IP.
- When the Diskstation gets detected, hit the Connect button.
- Read the Synology EULA and click on Accept.
- Now, just hit the Set up button.
- After that, you have to download the basic OS named DiskStation Manager.
- Click on the option called Download from Synology’s Download Center.
- In the new that that opens, the NAS will automatically get detected.
- If it does not get detected, then just input the information manually.
- Below the Item option, you can see DMS’s most recent version.
- Hit the Download button for getting the most recent version.
- Return to the Diskstation installation screen.
- Click on the Browse button to locate the downloaded DMS file.
- Hit the Select button after finding it.
- Click on the Install Now button.
- Tick the box in the confirmation prompt.
- Hit the OK button.
The installation process may take around 10 minutes to get over.
Set up the administrator account
- Key in the Username that shall include admin abilities.
- Input a password for the admin account and then confirm it.
- Click on the Next button.
- You can also set up or sign in to your QuickConnect Synology account.
- This shall permit you to remotely access the unites and services that are available safely from the dynamic naming servers of Synology.
- Click on the Next button.
- Finally, click on the Go button.
Enable Disks
- You shall now be able to view the DSM screen.
- Click twice on File Station.
- Now, you will get the option for creating shared folders.
- Click on the OK button.
- You shall now get the option for creating a new volume.
- Click on the OK button.
- Select any mode for creating a volume. You can either click on Quick or select Custom.
- Click on the Next button.
- Now, click on New Storage Pool.
- Hit the Next button.
- Choose the type of pool. Click on either better performance or select higher flexibility.
- Hit the Next button.
- Choose the disk redundancy type and click on Next.
- Choose the disks you wish to include and click on the Next button.
- In the confirmation prompt, click on OK.
- Key in the description and go to the next screen.
- Choose a Filesystem type and click on the next button.
- Hit the Apply button.
Enable Network Sharing
- Click twice on the DSM Control Panel.
- Select the Create option.
- Input the name of the shared folder.
- Add a description.
- Click on the Next button.
- You can encrypt the sharing if you want.
- Click on the Next button.
- Select the Apply option.
- Add permissions for the access levels.
- Hit the OK button.
Hey I am Enne Garcia a certified technical professional for mcafee with over five years of experience. If you face any issue regarding your mcafee.com/activate then can help in all sorts of problem and get instant solution from mcafee Experts in a small time period.
Source: https://ennegarciacom.wordpress.com/2019/05/01/how-to-set-up-synology-diskstation-ds1019/


