


Apple Pay is a phenomenal mobile payment service by Apple which allows its users to safely store their card details on their iPhone or iPad and use their devices for making payments instead of a card. So, if you haven’t set up Apple Pay on your devices, then we suggest that you should do it right now.
Here’s how you can set up and use Apple Pay.
How to Add Your Card to Apple Pay?
Follow these steps to add your card to Apple Pay:
- Open the “Wallet” app.
- Now hit the “+” button, which is present in the top-right corner.
- Next, hit the “Continue” or “Next” option.
- Now you have to enter your credit or debit card details. You can do this by entering your details manually or by scanning your card with your camera.
- After that, hit the “Next” option, which is present on the card details screen.
- Now submit your card’s expiration date and CVV number.
- Next, hit the “Next” option.
- Now hit the “Agree” option to accept terms of use for Apple Pay.
- Next, hit the “Agree” option again.
- Now, choose a verification method and then hit the “Next” option.
- Next, hit the “Enter Code” option.
- Now submit your verification code and then hit the “Next” option.
- Finally, hit the “Done” option to complete the process of adding your debit/credit card to Apple Pay.
How to Change the Default Card for Apple Pay?
Follow these steps to change your default card for Apple Pay:
- Open the “Settings” app that is present on your iPhone/iPad.
- Now hit the “Wallet and Apple Pay” option.
- Next, tap on the “Default Card” option.
- Finally, select the card that you want to use as a default card for Apple Pay.
How to Remove Your Card From Apple Pay?
Follow these steps to remove your card from Apple Pay:
- Open the “Settings” app that is present on your iPhone/iPad.
- Now hit the “Wallet and Apple Pay” option.
- Next, hit the card that you want to remove.
- Finally, hit the “Remove This Card” option to remove your card from Apple Pay.
How to Manage Your Shipping Address?
Follow these steps to manage your shipping address for Apple Pay:
- Open the “Settings” app that is present on your iPhone/iPad.
- Now hit the “Wallet and Apple Pay” option.
- Next, hit the “Shipping Address” option.
- Now select the address that you want to use as your default shipping address, or you can also add a new shipping address by tapping on the “Enter New Shipping Address” option.
How to View Your Recent Apple Pay Transactions Using the Wallet App?
Follow these steps to view your recent Apple Pay transactions using the “Wallet” app:
- Open the “Wallet” app on your iPhone or iPad.
- Next, tap on your card whose recent transactions you want to see.
- Now hit the “…” button, which is present in the upper-right corner of your card, to view all your transactions.
How to Set up Apple Pay on Your Mac Computer System?
Follow these steps to set up Apple Pay on your Mac computer system:
- Open the Safari web browser on your Mac computer system.
- Now tap on the “Safari” tab, which is present in the upper-left corner of your screen.
- Next, tap on the “System Preferences” option.
- Now tap on the “Privacy” tab.
- Finally, select the “Apple Pay and Apple Card” option to make payments using Apple Pay on your Mac computer system.
How to Set up Apple Pay on Your MacBook Air?
Follow these steps to set up Apple Pay on your MacBook Air:
- Tap on the “Apple menu” icon and select the “System Preferences” option from the dropdown menu.
- Now tap on the “Wallet & Apple Pay” icon.
- Next, tap on the “Add Card” button to add your credit/debit card.
- Now enter your card details manually or scan it by placing it in front of the iSight camera.
- Next, tap on the “Next” option.
- Now submit your card’s expiration date and CVV number.
- Next, tap on the “Next” option.
- Hit the “Agree” option to accept terms of use for Apple Pay.
- Now choose a verification method and then hit the “Next” option.
- Now, submit your verification code and then hit the “Next” option.
- Finally, hit the “Next” option to complete the process.
How to Use Apple Pay on MacBook Air With Touch ID?
Follow these to use Apple Pay on MacBook Air with “Touch ID” :
- Open your Safari web browser on your iPhone or iPad.
- Now go to the website of the retailer.
- Next, navigate to the checkout page, and hit the “Checkout with Apple Pay” option.
- Now hit the “Pay with Apple Pay” option.
- Next, recheck your shipping and billing address.
- Now place your finger (“Touch ID” registered” finger) on the “Touch ID” button to make payment with Apple Pay.
Conclusion
There you have it, a step by step guide that you can follow to set up and use Apple Pay on your devices. So, carefully follow all the instructions of this guide if you want to set up and use Apple Pay on your devices.
John Smith is an inventive person who has been doing intensive research in particular topics and writing blogs and articles on office.com/setup and many other related topics. He is a very knowledgeable person with lots of experience.
Source:- https://intersecuregoods.com/how-to-set-up-and-use-apple-pay/


Utilising Marqeta’s instant card issuing capabilities, the digital wallet will offer a range of personal finance features, including the ability to issue a mobile ready debit card that can connect to mobile payment apps, starting with Google Pay, and Apple Pay and Samsung Pay coming soon.
YAPEAL will help its customers, Yapsters, to intelligently manage money through budgeting tools and provide access to multiple currencies.“Taking a week to be able to open a bank account and receive a debit card is just too long in today’s digital world.
With the help of Marqeta, our customers can now set up an account and begin using their debit cards to shop online in just minutes.
The Swiss banking sector has long been lagging behind other areas; banking innovations haven’t kept pace with the infrastructure in other industries, like leisure and retail.
This is the gap that we are looking to close with our new, disruptive digital wallet,” said Daniel Capraro, Co-Founder and Chief Product Officer, YAPEAL.
With Marqeta, we created the entire offering process in two and a half months, one that would have taken eighteen months with other providers.

Apple Credit Card is a Credit Card that urges you to pay less intrigue. You don't need to pay any expenses, since Apple Card doesn't have any charges, not in any case concealed ones.


Did you sign up for Apple News+ as a paid service or trail and want to cancel the subscription? You can easily stop the Apple News Plus monthly $9.999 subscription fee if you are no longer interested in using the Apple News Plus service.
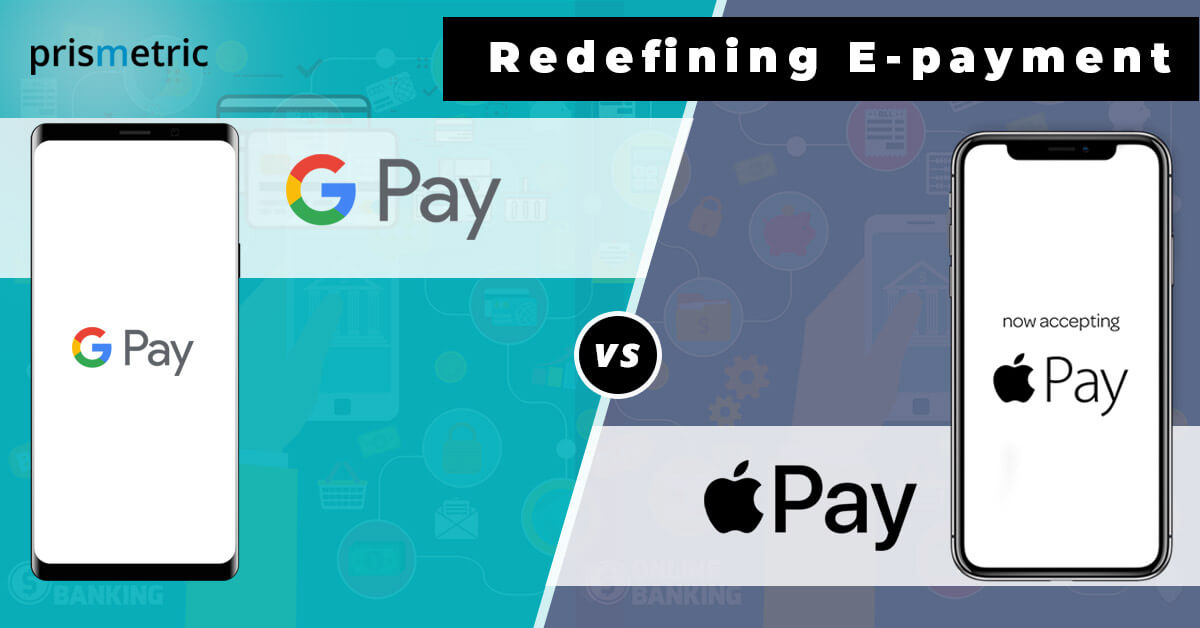
Mobile digital payments apps (a.k.a digital wallets) are the new pioneers of technology which is ushering us into an era of financial freedom.
Features such as ease of use, freedom from bulky wallets, enticing partner offers, improved security, speed of payment have tilted the scales in favor of e-wallets.
According to a report generated by Statista, “Mobile apps worldwide have seen a rise of 150%.
Although Apple has the first-mover advantage, Google is quickly catching up.
At first, the service was only available to iPhone 6 and its successors but later the company expanded the ambit of supported devices and included the first generation Apple watch.
With the introduction of iOS11 Apple has launched a feature which lets you send money to your friends and relatives.

If you want to be up to be the first in the race of mobile app development!!! The way to do is follow the trends.. Here are the unavoidable top 6 trends that help to stand out in the market. click on the link to read more.


