


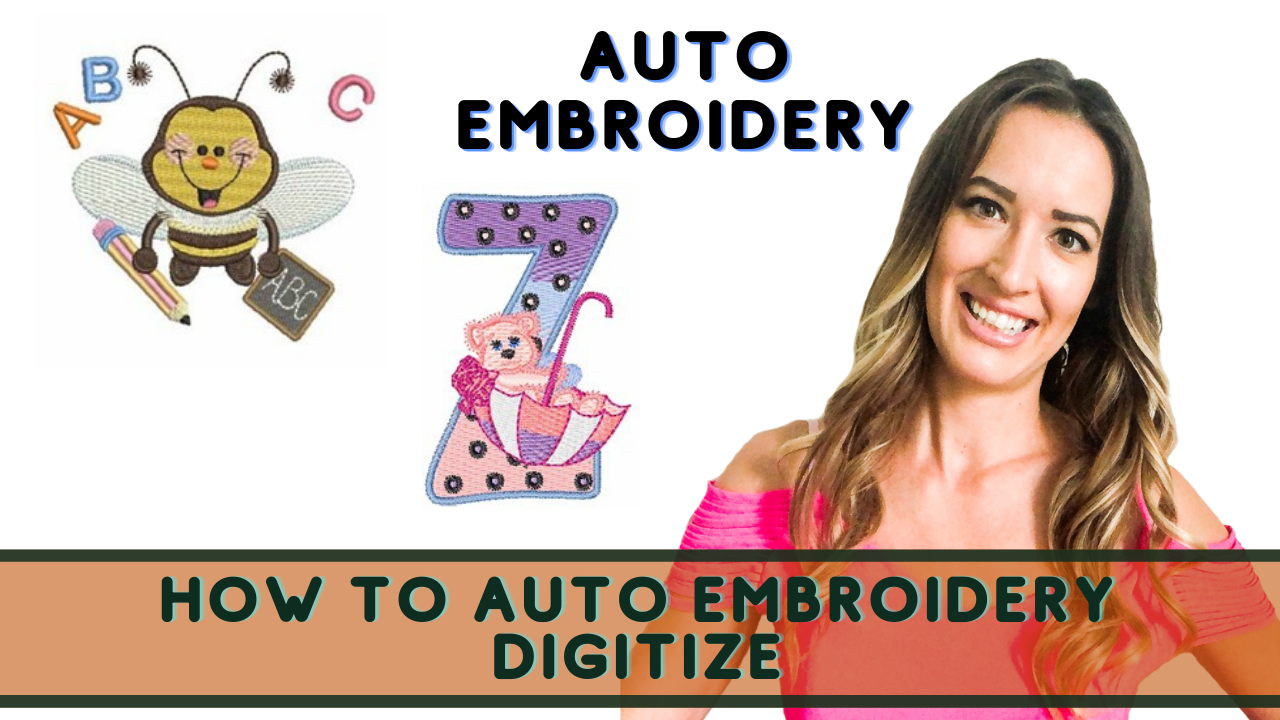
In this article we will examine how to Auto Digitizing embroidery. We are giving nitty gritty strides underneath that will most likely assistance you for this reason.
5 Tips for Starting an Embroidery Business in 2021
Stage 1: In the first place, dispatch your Wilcom software on your framework, and afterward click the Wilcom symbol option(shown as orange W) on the upper corner of the left half of the principle page.
Stage 2: At that point snap and open the Import realistic choice that will unquestionably show up on the upper side of the fundamental page, and from that point forward, select your ideal record in Wilcom and open it.
Stage 3: In the wake of doing so once more, click the document and select Auto Trace To Vector Icon choice that is likely on the lower left side.
Stage 4: At the point when you click on the Auto follow vector symbol, the chose record will change over into a vector document at whatever point you press the alternative.
Stage 5: Here you see the choice with you can change shading amount whether you need one, two, three, or more in your document, at that point press alright to proceed. After these means, you can see your document is being changed over into a vector record.
Stage 6: There are two symbols, most likely a few choices above Auto follow to vector choice that are:
- Tatami Fill Object With Holes
- Tatami Fill Object;
You can choose your necessary join here
Stage 7: At whatever point you press any of these two symbols, it will automatically change over into a digitized document. Presently your record is digitized.
Stage 8: Presently select the image, and afterward you can change join esteems. You can likewise alter the record according to prerequisites, and subsequent to finishing your ideal undertaking, you can save the document on your pc.
Stage 9: To save the document; Click on the File choice and select the alternative Save as and afterward name the record and save it in which envelope you need.
Stage 10: Your ideal document is prepared, and you can play out your ideal work on it.
Hope it will be helpful for you guys!
Do you Need digitizing service for your embroidery machine, With super fast turnaround and excellent quality? Click the link and get free quote.
How to add embroidery outline border around the tatami object
7 Necessary embroidery Items | Embroiderers
4 Best Tips for Cap Embroidery to increase productivity


It is indeed a slow and tiresome work because you have to keep an eye on multiple things.To find a digitizing agency that can fulfill your demands is not as easy as it might seem.
This is why we have brought some of the most comprehensive tips for you about how to outsource the digitizing work!So, let's get started.5 reasons why should you start an embroidery businessNumber#1Service QualityAny digitizing agency can give you services, but not every digitizing agency can provide you with the quality services, and of course, there is no point hiring an agency that cannot give you high-quality service.
There are multiple things that you need to keep under your consideration while you search for the right digitizing agency.Check for actual product quality:A good digitizing agency would always have their collection uploaded on their website, it not only reflects that they have been working for a very long time, but also you will be able to see through what kind of work they produce.Also, try to go for the actual project images rather than edited work photos, actual photos would give you deep insight regarding how nice or worse their work is.By visiting their official website, you should be able to see their work.
The best way to test the quality is to go with the actual process and most of the companies are providing free trial.Rely on external reviews:The review is an amazing thing, it tells a lot about the quality of the product, so it would be a really nice decision to check for the positive reviews before you buy their services.But there is another important thing that you should not rely on the website’s review; instead, try to focus on external reviews such as Trust Pilot reviews.Another important thing is to have a bird’s eye view for the positive reputation of the digitizing agency in various communities and social media groups.Check for the reviews, comments, and what people say about the company and their experiences.
And that is how you can determine the quality of the right digitizing agency.Number#2Digitizing pricingPricing is definitely another important aspect of any right digitizing agency.
You should give preferences to the digitizing agency that offers low and reasonable prices for their services.Another important thing is to consider value along with the reasonable price, in most cases, some embroidery agencies lower their rates, but you can also see a big difference in their digitized designs.


