


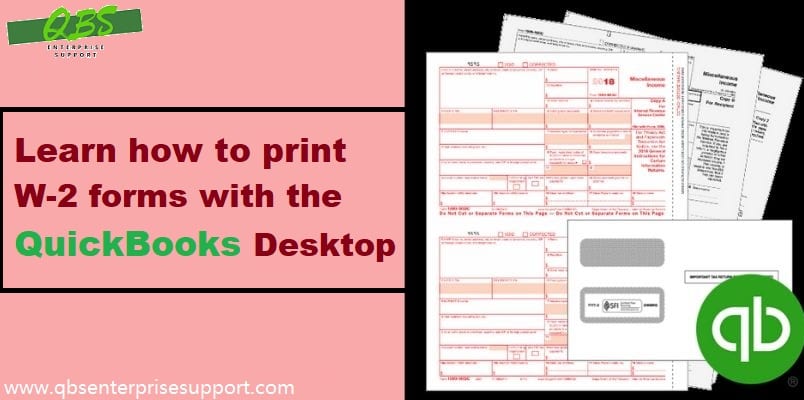
The Wage and Tax Statements are another name for W-2 forms. An employer is required to provide these forms to all of his employees as well as the Internal Revenue Service at the end of the year (IRS). A W-2 form reflects an employee's annual salary and the amount of taxes deducted from his/her paychecks. An employee with a W-2 status is one whose employer reports to the government the tax deductions made from their paychecks. We will discuss all the relevant aspects of this subject and elucidate an easy procedure to print W-2 forms in QuickBooks Desktop.
Essential requirements to print W-2 Forms in QuickBooks
Before printing the W-2 forms, users should be familiar with the various requirements for printing W-2 forms in QuickBooks. Such requirements are enlisted below:
- Use the most recent version of QuickBooks to print the W-2 form. The QuickBooks version you download needs to work with your installed Windows operating system.
- QuickBooks Payroll Service has to be activated.
- The W-2 form must be compatible with the payroll service and the printer device.
- You can print on pre-printed laser printers, perforated paper, or blank paper. Inkjet printer paper that has previously been used is also a viable option.
- Make sure the payroll tax table you have is the most recent version.
Winding Up!
The guidelines provided in this article should be sufficient to help you with the process on how to print W-2 forms in the QuickBooks Desktop. If you need any assistance, our certified executives are always available at the desk to sort out any queries of QuickBooks users. All you need to do is ring us a call at 1 800 761 1787 and let our certified professionals address the issue.


When the W-2 forms are available and after you are done running the payroll for the year you can print it according to your requirement.
These requirements are like for the company’s record, to give the form in replacement, or to give the form for the first time to an employee.
Here, you get to know the requirements for printing this form and also the information for how to print the W2 in QuickBooks Desktop.


Then re-select the 1096 form, and select Print on a 1096 Form.
You may want to check this article for your reference: Print a 1096 form.
Still facing any problem regarding printing Forms 1099 & 1096 in QuickBooks Desktop, call our QuickBooks 24/7 Customer Support Number 1800-993-4190 How to print 1096 in quickbooks read more information to 99Accounting.
Then select Print on a 1096 Form.
If the form needs to be aligned, select No, it doesn't line up and select Next.


