


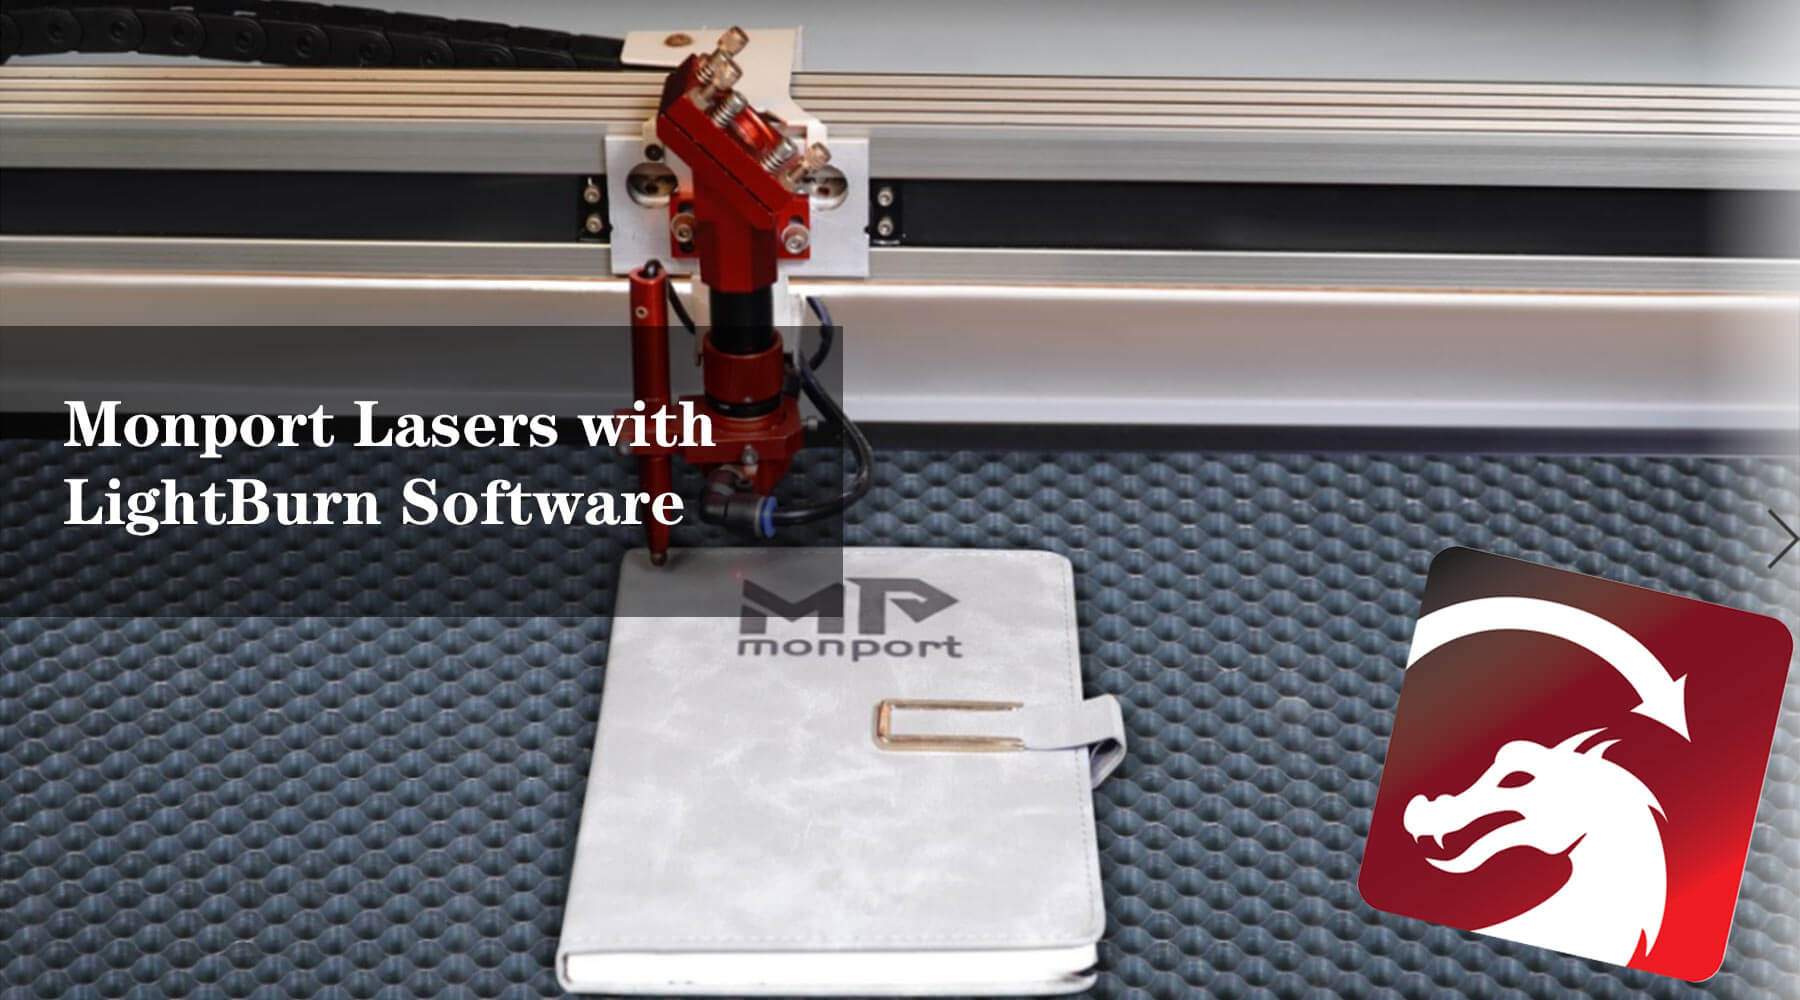
Ever dreamt of adding a laser engraver to your wood shop or craft space? A Monport laser is exactly what you are looking for; with several different sizes, customizable for your needs! Our lasers use LightBurn software for a user-friendly experience in layout, editing, and controlling your laser with ease. Whether you choose a 40 Watt laser, 150 Watt laser, or anything in between, LightBurn control boards are installed or available for ease of use for all laser operators. Read below for more information on using LightBurn within your Monport Laser!
Starting a Project in LightBurn/Best starting point on laser bed

Monport lasers are connected to LightBurn via USB cable. Users need to go through the initial setup process to get their laser to connect to LightBurn. After, designs are sent to the laser from LightBurn through the USB cable. Once the project has been sent to the control board of the laser, the USB cable can be disconnected if needed. When using your laser with LightBurn, there are several options for where your laser cutting and engraving can begin. You first must set where your job origin will start. The two most used coordinates are Absolute Coordinates and Current Position. The easiest option to with Monport lasers is Absolute Coordinates. The page grid you see in the main editing window represents your machine's work area. Anything you place in that area will be cut in the corresponding place on your machine. The second most used coordinate is Current Position. The job cuts relative to the current position of the laser head when the user hits the Start button. The user would then use the "Job Origin" control in the Laser window to tell LightBurn how to position the job relative to the laser. When using a Monport Laser, LightBurn sets and shows the limit of the laser bed, will not allow you to run the project with it outside those limits. This allows for less errors and projects being cut off from being outside of the laser bed limits, which wastes both materials and time!
Choosing from a Variety of file types

While using LightBurn with your Monport laser, you will be able to import a variety of common vector graphic and image formats (including AI, PDF, SVG, DXF, PLT, PNG, JPG, GIF, and BMP). Having the ability to use multiple file formats gives the user ultimate flexibility while learning their new laser. LightBurn allows users the flexibility to adjust settings for the perfect engrave. Power and speed settings allow each user the flexibility to modify the shade of the engraving. With just a few clicks in LightBurn, users can choose a lower power setting for a light engrave, or a higher setting for a darker engrave. When engraving photos, such as PNG, JPG, and BMP, users first scale their photo to a desired size. They then click on the photo layer in cuts/layers portion in LightBurn. There are several imaging modes that allow the user to see the dithering sample to show how their picture will be engraved. The preloaded image modes are Threshold, Ordered, Atkinson, Dither, Stucki, Jarvis, Newsprint, Halftone, Sketch, and Grayscale. These options allow a user to engrave a photo without having to do editing of the photo beforehand. Setting the line interval, or how many lines of engraving are completed in a desired amount of space, will help create an accurate depiction of the desired photo.
Color Palette and Operational Order

Another feature that LightBurn uses that is useful for Monport lasers is the color palette. The color palette is used to assign and order and operation to each part of a design. If you have a part of your design highlighted, and a color is selected, that color will be assigned to that operation. The numbers on the color palette within LightBurn range from 00 to 29 and also have Tool Layers numbered T1 and T2. These two colors are used for creating non-output shapes in your designs. If different portions of a design are required to be different shades of engraving, they can be differentiated by color, with different powers and speeds. This not only allows for various shading in a design, but allows for sections of an engraving to be skipped all together if need be. If a section is engraved and the user is not happy with the results of the color or depth, they can rerun the same layer again to darker or deepen it. The order of the colors listed in the cut/layers section is the order the action will happen in Monport lasers. This makes it easy for a step to be skipped or repeated if needed. For items that have different depths in the same material piece (a bowl with a lip, etc.), the laser bed can be adjusted up and down during the sequence of colors in the cut/layers group. These different layers would be color coded in different colors, to give time for the laser bed to be adjusted appropriately for the focal point of your laser.
Camera or No Camera that is the Question!
A great characteristic of using LightBurn with your Monport laser is the ability to position your laser exactly where you want to engrave a word or image on a project without worrying about it being off-centered or misaligned. The framing tool can be used to outline the entire project or an entire section of a project so the user can see exactly where the laser beam is set to cut or engrave. This alleviates the need to have a camera installed on your laser. If a camera is desired, Monport Lasers allow you to add a camera through LightBurn. To do so, you would look in your device settings, basic settings, and must know your working area of your machine. A camera should be fixed above the machine in the center of its working area. The camera settings allow you to set and shows the limit of the laser bed, and projects will not allow you to run outside of those limits. After camera lens calibration is complete, you are able to watch your project, and align your designs as needed.
Raster/ Vector Engraving
Engraving a portion of a design can be done by setting a section to fill. This is often called Raster Engraving. This is done by the laser head moving left to right across a print area until the entire image is completed. A vector cut or score (depending on the speed and power) is the laser tracing the lines of the cut or shape. As a result raster engraving take a lot longer than vector cuts and scores. The s value max is a setting you may see in LightBurn while using Monport Lasers. This setting is the number that corresponds to one-hundred percent power in LightBurn. GRBL defaults to zero to one thousand for newer versions of GRBL, or 0 to 255 for older ones. LightBurn also has a trace option for images that are not yet in vector format. This allows each user to adjust the coloring of the uploaded photo to trace the image. Once a variation of an image is perfected and traced, it can be used in vector format to be engraved or cut. Traced vector images can be engraved as is, or cut and engrave lines adjusted to be added to another piece.
Ultimate Text/font Options with Monport lasers

Being able to work with multiple fonts in your project is an added benefit. When you download and install a new font on your computer, you will have access on it on LightBurn as well! If you do not immediately see your downloaded font, you will need to save any open projects, close, and reopen LightBurn for them to load into your font list. Once you have chosen a font, you are able to modify it to fit your project needs. The text tool allows you to create text on the screen, or edit existing text by clicking within it, change font and size, alignment, and spacing, and enable and disable automatic welding. Single line fonts are also available within LightBurn, but are not preloaded. They must be searched for and downloaded, but several are available for free. Once they are downloaded and installed into LightBurn, you can see them designated by a SHX logo in the font dropdown list.
Use Monport with LightBurn for the BEST Experience!
The preview button allows you to see the estimated time for project to finish and how much of that is cut time and how much of it is rapid movement. This allows you to arrange and rearrange colors in your cut and layer section, to best arrange the order for most efficient cut time. Monport Lasers prides itself with being the most adaptable laser company in the business! Our use of LightBurn keeps us on the leading edge of productivity and production! LightBurn software is an application that can be used for Windows, Mac OS, and Linux, so no matter what operating system you have on your computer, you will be able to install and use LightBurn. After learning the basics of the software, each user has the ability to research and learn more advanced topics to exemplify their Monport Laser experience! This enables your experience with Monport Lasers to be limitless!


Looking for the best Zendesk alternatives?
Here are the top 10 Zendesk competitors that won't burn a hole in your pocket & have similar or better features.


Powell 365 Alternative Saketa Intranet Suite is the flexible, adaptive and efficient SharePoint Intranet alternative to Powell 365 Intranet.
Understand how can it deliver a superior digital workplace experience to your organization in the shortest span of time.GET STARTED Why Is Saketa Intranet Suite The Right Choice?Saketa Intranet Suite is an interactive SharePoint intranet solution to modernize your digital workplace.
It is often proclaimed by our happy clients as the best collaborative workplace to drive an efficient Remote workforce.PersonalizationOur “My Space” enables personalized dashboard for every employee.
It brings in relevant news, email, OneDrive files, tasks, contacts etc.
Advanced SearchSaketa Knowledge Base lets you search any content throughout your SharePoint Tenant right from the intranet.
Utilize various filters to narrow down your find for an Intelligent and Efficient Search List View CustomizationCustomize SharePoint lists to match your business need with our built-in suite Intelligent, intuitive componentsSay no to complex coding.

Looking for alternatives to TeamViewer free version?
We hear you, Fortunately, when it comes to finding a better TeamViewer alternative, there are a variety of options and discussions on Reddit.Many of us are very much aware that the TeamViewer free helps us connect to any device from anywhere at any time!
However, if you’re excited to explore the free alternatives to TeamViewer?


