Are you finding it challenging to figure out how to set up Cricut Mug Press? Leave all your tension behind, as I am going to be your guardian angel and give you all the necessary details. With the help of this amazing press, you can easily make high-quality mugs at home. Undoubtedly, one must have a proper ceramic mug and infusible ink set. With these materials’ help, crafters will find it more accessible to make their virtual designs into reality.
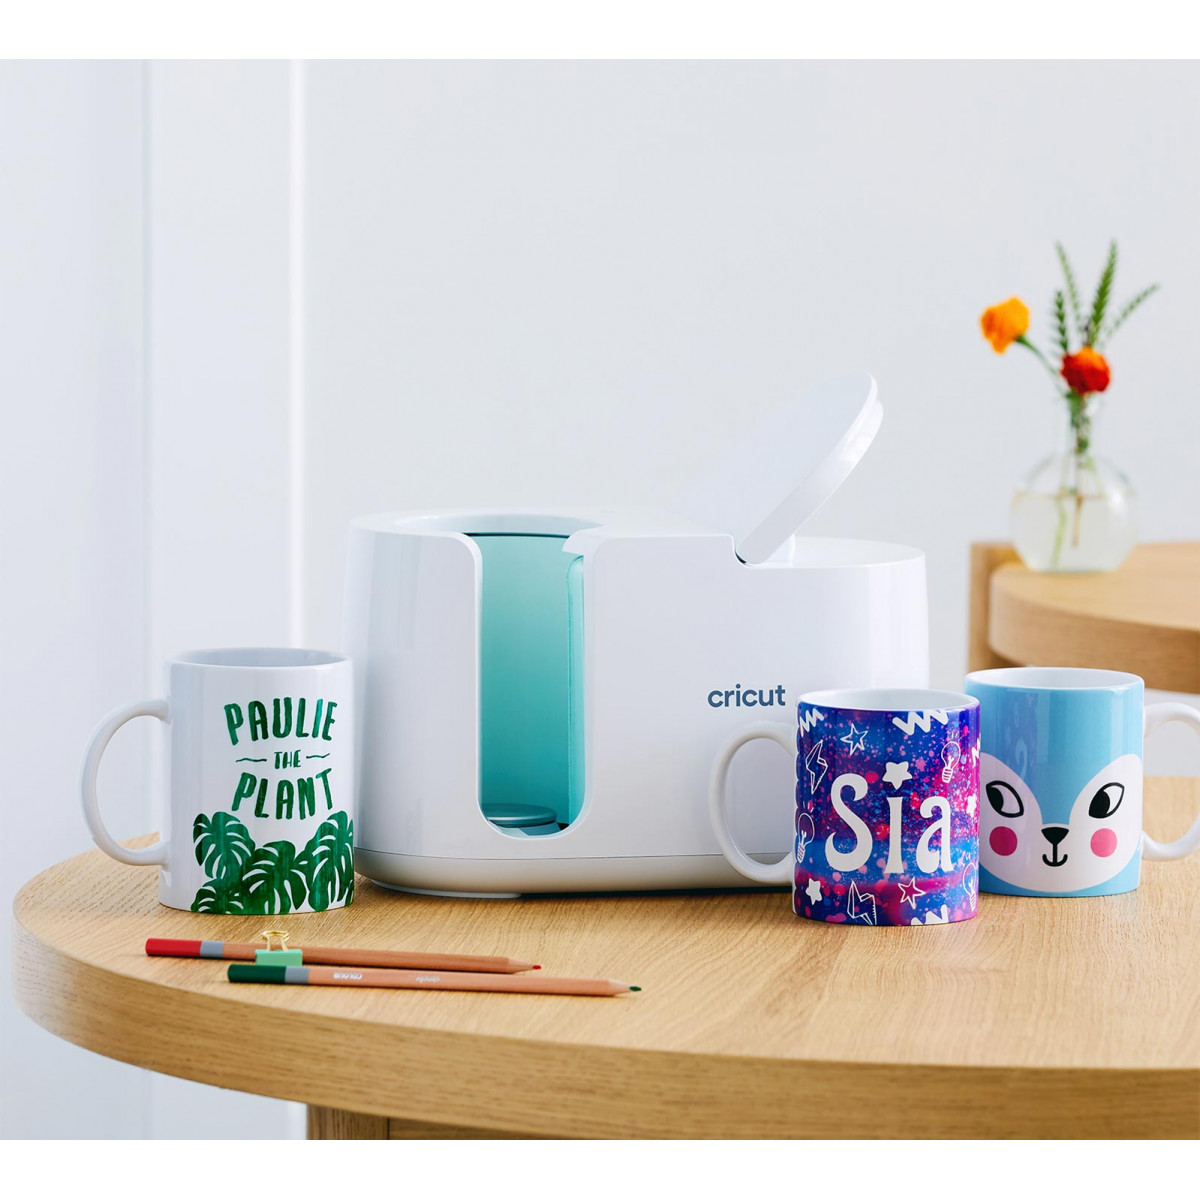
All users who intend to create designs need to get the Cricut Design Space app on their devices. Besides that, users must buy this Cricut Mug Press and bundle before making any mugs. Give me a golden chance to inspire you to set up Cricut Mug Press on your device.
How to Set Up Cricut Mug Press on a Computer?
Before getting a personalized mug, all the users must set up their respective Mug Press successfully. For a successful setup, you need to follow the steps given below:
- First, turn on your computer and open the web browser (Google Chrome, Safari, or other).
- Second, visit the Cricut setup official page and download the Design Space app for your system.
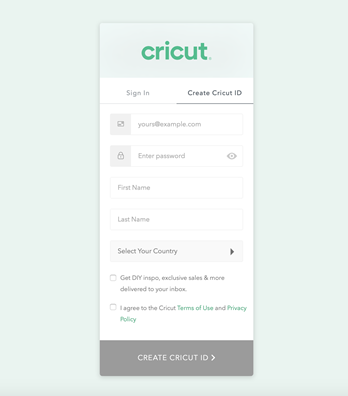
- Third, sign in by entering your Cricut ID and password, or create your Cricut ID by entering your first name, last name, personal email address, or country.
- After creating your account, go to the Cricut setup page, choose Heat Press, and then select the Cricut Mug Press option.
- Next, switch on your machine and plug it into the nearby wall outlet.
- Afterward, unwrap the USB cable and put it inside both devices properly.
- Following this, go through the Terms & Conditions and press the Activate option.
- Lastly, select the Get Started option, and you are all set to create your first project on this Cricut Heat Press model.
Users can quickly learn how to set up Cricut Mug Press using the above steps. After the successful setup, they will be able to make a variety of mugs for various purposes.
How to Use Cricut Mug Press for the First Time?
With the help of the below steps, users can make various mugs with the snap of their fingers. Get to know about the steps needed to be taken while using this press for making do-it-yourself mugs:
- Begin by opening Cricut Design Space and creating a design using the mug template.
- After making the design, cover your Cricut cutting mat with an infusible ink sheet.
- While placing the sheet, don’t forget to keep the shiny side downward and the color side upward.
- Next, take your Cricut transfer tape and cover your entire mug with the tape to avoid any wrinkles or bubbles.
- Following this, switch on your machine and pre-heat it by pressing the power button.
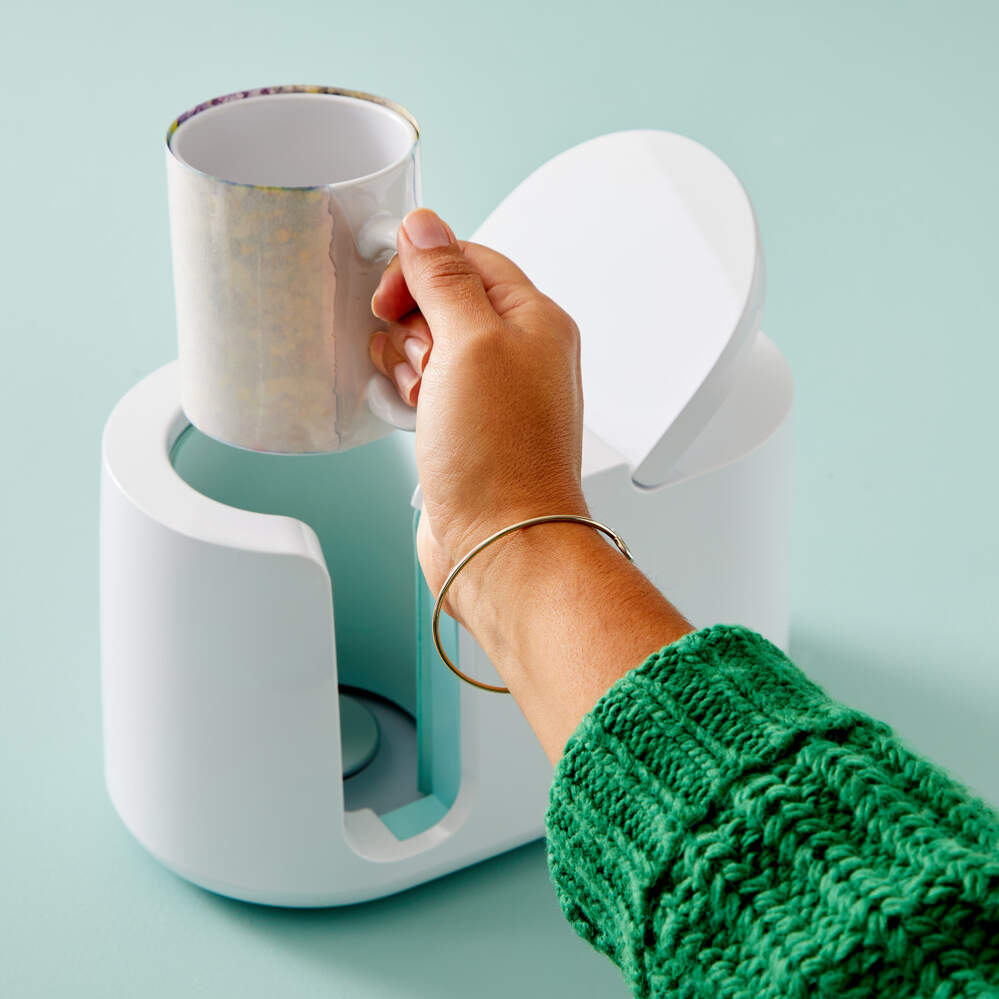
- When your machine is completely pre-heated, the power button will turn green, indicating that you should load the mug.
- Now, place the mug inside the empty area and close it with the handle on the right side of the press.
- At this point, you need to wait till the machine is transferring the design to the mug.
- When the mug has cooled, carefully peel off the design, ensuring that it doesn’t get spoiled.
- Finally, your first-ever customized mug is ready to be given as a gift to someone special.
Since we’ve collected the majority of details regarding how to set up Cricut Mug Press and how to utilize it, it’s time to learn a little bit more about this Cricut Heat Press extra feature.
How to Change My Cricut Mug Press Temperature?
In case you want to change the temperature settings of your Cricut Mug Press while making any mug, then have a look at the steps given below:
- Initiate the process by entering the Temperature Setting mode, whether your machine is switched on or off.
- After doing that, hold on to the power button for 10 seconds, and you will hear the chimes sound with all the LEDs flashing continuously.
- Following this, you will notice that the power button will turn orange during the Temperature Settings mode.
- Now, you will get to see three different LED rows showing the current setting.
- Next, you need to push the power button to select the setting that you want during the process.
- At this point, you will hear a chime sound, and the LED display and power button will start flashing together.
- After a few minutes, your press will automatically turn off, and new settings will activate when the Cricut Mug Press turns on.
In conclusion, with the how to set up Cricut Mug Press blog, you can now make tons of personalized mugs on your own.
Source URL: - HOW TO SET UP CRICUT MUG PRESS