


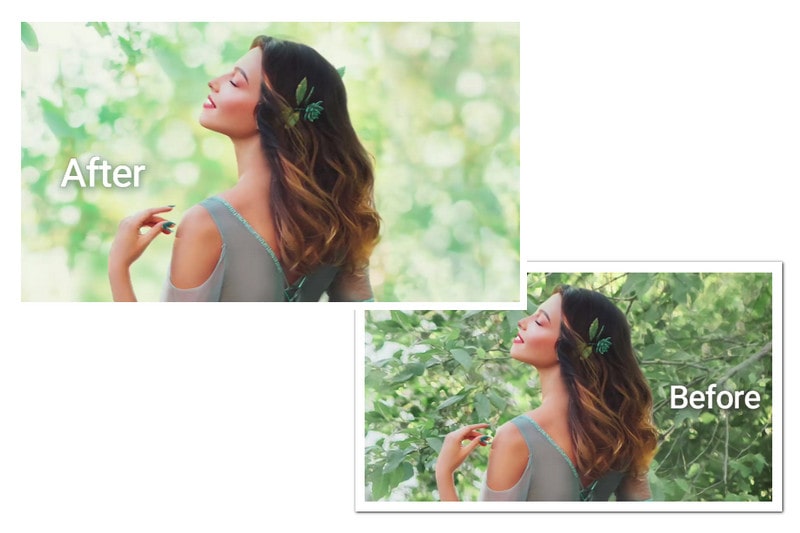
Blurring images is a powerful technique that can enhance creativity, protect privacy, or simply add a touch of artistry to your photos. Whether you want to create stunning visuals or aim to protect sensitive information in a photo, knowing how to blur images is a skill worth mastering. In this article, the easiest ways and tools will be disclosed.

- Part 1: How to Blur Image Online - 5 Tools Available
- 1. BeFunky
- 2. Canva
- 3. Blur Photo Editor
- 4. Pixlr
- 5. Cutout.Pro
- Part 2: Advantages and Disadvantages of Online Tools
- Part 3: Other Easy Tools to Blur Image
- Part 4: Conclusion
Part 1: How to Blur Image Online - 5 Tools Available
When talking about the convenient way, online tools are the choice. The following 5 online tools can be considered, which are entirely free and let you blur parts of an image.
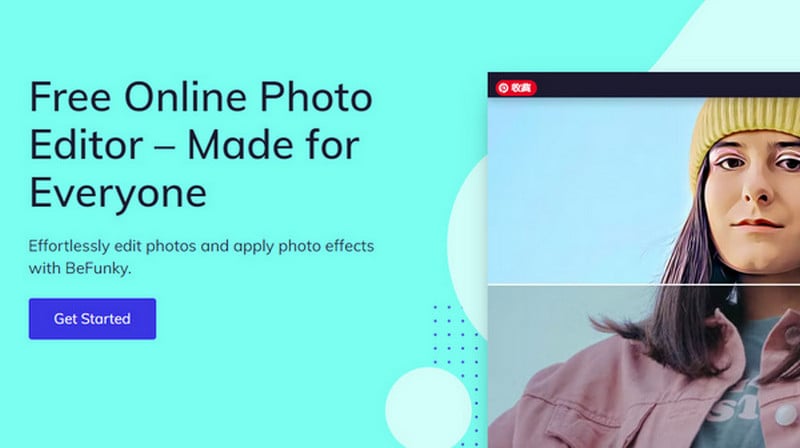
1. BeFunky
How to blur image using BeFunky:
Step 1: To start, click on "Get Started" to access the site's free version. You can then upload your image by either dragging it from your device and dropping it in the upload area or by uploading it from cloud storage services like Google Photos, Google Drive, or Dropbox.
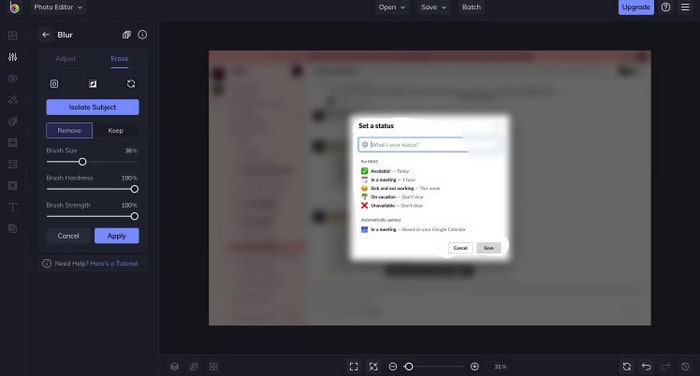
Step 2: Within the "Blur" feature, you'll find two options: "Adjust" and "Erase". Unlike other tools, BeFunky operates a bit differently. First, you need to blur your entire image. Under the Adjust tab, specify the level of blur you desire for your image.
Step 3: Moving on to the "Erase" tab allows you to eliminate the blur from specific areas. If you erased too much blur, simply go to the "Keep" tab to reapply blur to select areas of your image.
If you intend to only blur a small section of your image, erase the blur using the largest brush tool and then utilize the "Keep" tab to selectively reapply blur to the desired area.
Step 4: When you are satisfied with your blurred image, navigate to the "Save" tab at the top of the screen to download your blurred photo to your computer. You have the option to save your image in three formats: JPG, PNG, and PDF.
2. Canva

Canva, a renowned online resource provider, offers a diverse range of design and editing tools. Unlike BeFunky, users who want to blur an image on Canva need to register a free account to access this feature.
How to blur image using Canva:
Step 1: Sign up for your Canva account.
Step 2: When logging into your Canva account, click on "Upload your photo" so you can upload your image and generate a Canva design that fits your photo's dimensions perfectly. You also can simply drag and drop your image onto the page.
Step 3: Go to the top toolbar and select the "Edit photo" option then find the "Blur" option under Tools. If you're new to using the Blur tool, you can discover it in the suggestions section or search for it in the bar.
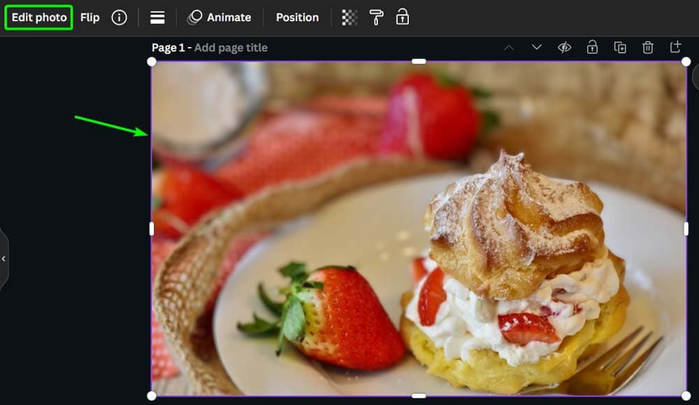
You can choose the "Auto" feature to blur the entire image or pick "Blur" to brush over specific areas. You can also remove the blur with the "Restore Brush" option.
Step 4: Once you've completed blurring your image, click on "Share" then opt for "Download" to store your design on your computer.
Canva supports downloading the image in various formats like JPG, PNG, and PDF. If you register and pay for a premium Canva account, you can download your design as an SVG file too.
3. Blur Photo Editor
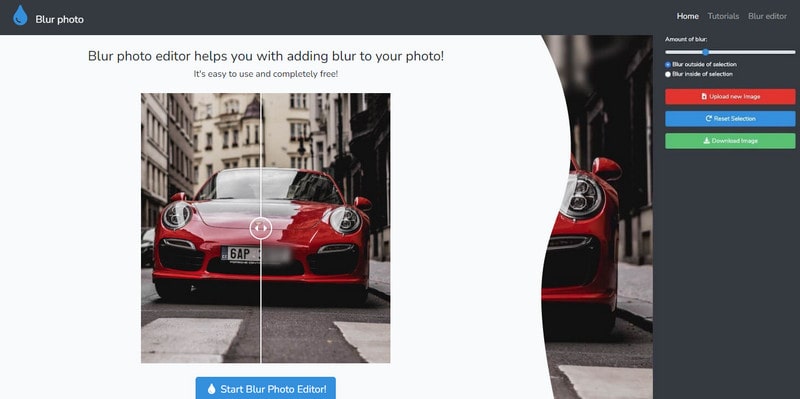
If you prefer clean lines over shaky brushstrokes when blurring an image, Blur Photo Editor is the perfect solution. This user-friendly tool is effective for blurring specific image sections by enabling you to define a selection area, eliminating the need for precise hand movements. Additionally, it is easy to use by offering a straightforward interface and a limited set of editing functions.
How to blur image using Blur Photo Editor:
Step 1:Begin by selecting "Start Blur Photo Editor" on the homepage, then choose "Choose Photo to Blur" to upload your photo to the editor.
Step 2:Define the area you wish to blur by clicking on its corners. Once selected, specify whether you want to blur inside or outside the selection, and adjust the blur intensity to your preference.
Step 3:In case of an incorrect selection, simply reset it.
You can choose the "Auto" feature to blur the entire image or pick "Blur" to brush over specific areas. You can also remove the blur with the "Restore Brush" option.
Step 4: Once you are satisfied with the result, you can download your edited image.
Although Blur Photo Editor may not be the most advanced editing tool available online, it offers user-friendly features and produces professional-looking blurred images without any cost. The shortage is it always pops out ads in your browser.
4. Pixlr
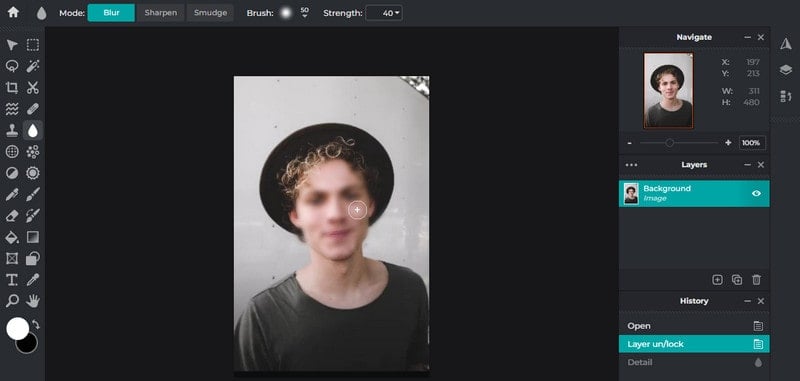
Pixlr is accessible through its web-based platform and mobile application, providing users with a range of editing features, such as blur effects. Although the blur tool in Pixlr may not be robust enough to conceal sensitive data, it excels in creating a blurred background for images or blurred faces. With its photo editing tool, Pixlr E, it can apply blurring effects to images or specific areas within an image.
How to blur image using Pixlr:
Step 1: Visit the Pixlr website.
Step 2:Upload your image by selecting "Open Image".
Step 3: In the editor, click on the "Blur" icon located in the left sidebar under the waterdrop icon. Then, navigate to the top menu, choose "Blur", and customize the blur effect using the sliders.
Step 4: Begin by using a larger brush size to blur the background extensively, then switch to a smaller brush to fine-tune areas around the subject. Once you're satisfied, go to "File" on the top left, pick your preferred download format from the pop-up, and click "Save As" to save your edited image.
5. Cutout.Pro
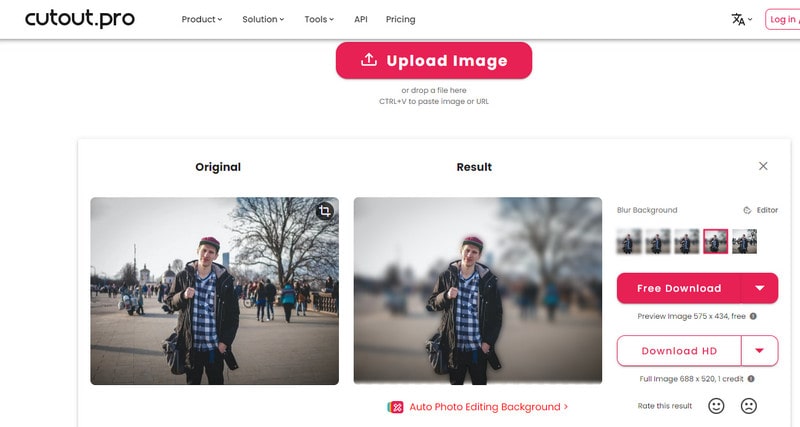
Cutout. Pro is an excellent free tool for blurring image backgrounds. This online tool, powered by AI, enables you to effortlessly blur the background of an image without any manual input. Simply upload or drag and drop your image onto the interface, and it will handle the background blurring automatically. You have the option to adjust the intensity of the blur effect on the background. After editing, you can download the image in either PNG or JPG format. But, for high-definition downloads, purchasing credits is necessary. Upon registration, users receive 5 complimentary credits and additional purchases are necessary for subsequent credit.
Here's how to blur a background using Cutout.Pro:
Step 1:Visit the page: https://www.cutout.pro/blur-background/upload
Step 2:Upload the photo you want to blur the background from your computer.
Step 3:Pick one blur intensity from the preset options on the right.
Step 4: Click on "Free Download" to save the edited image to your local device.
Part 2: Advantages and Disadvantages of Online Tools
Here are the advantages and disadvantages of using online tools for blurring images. Please take these factors into consideration when determining whether to utilize an online blur image tool for your editing requirements.
Advantages:
- Accessibility: Online tools are accessible from any web browser, eliminating the need for specific software installations or device compatibility.
- Convenience: Online tools don't require storage space on the user's device since all editing is done on the server.
- Collaboration: Online tools often have features that facilitate collaboration and sharing of edited images with others.
Disadvantages:
- Internet Dependence: Online tools require an internet connection for editing, making them less suitable for offline use.
- Limited Processing Power: Online tools might have limitations in processing large or complex images due to server constraints.
- Privacy Concerns: Uploading images to online platforms raises privacy concerns, especially if working with sensitive or personal content.
Part 3: Other Easy Tools to Blur Image
In addition to online tools, there are also reliable local software options that perform the same tasks.
1. Microsoft Photos
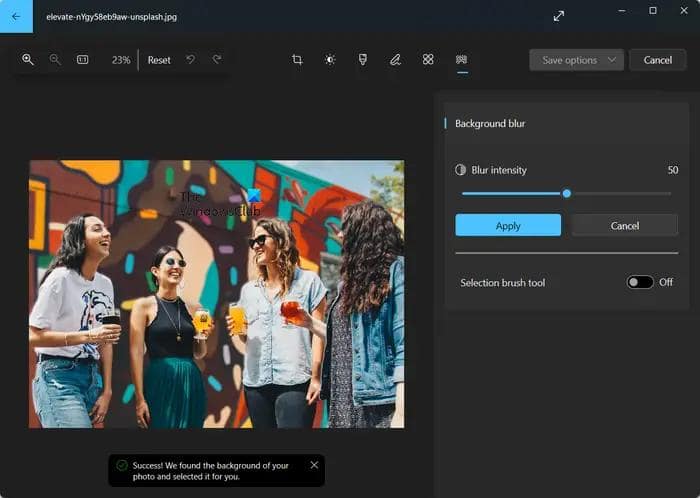
Microsoft Photos is the default photo viewer and editing app on Windows 11/10, and features a specialized Background Blur tool for adding a blur effect to your image's background.
Follow these steps to blur image:
Step 1: Open the Microsoft Photos program, load your source image, and click on the "Edit image" button on the top toolbar.
Step 2: In the new window, go to the "Background blur" tab, adjust the Blur intensity and preview the image with the blurred background. If satisfied, click the "Apply" button to save your changes.
Step 3: Finally, click on the "Save" options dropdown, and save the edited image according to your preferences.
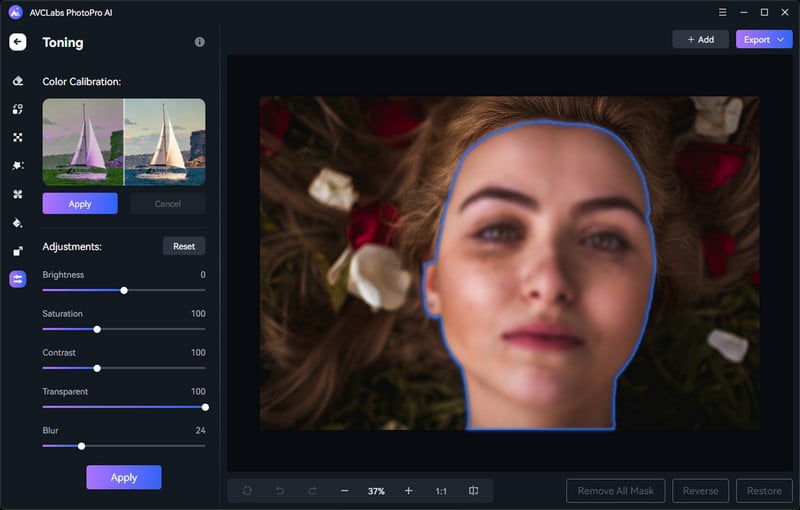
2. AVCLabs PhotoPro AI
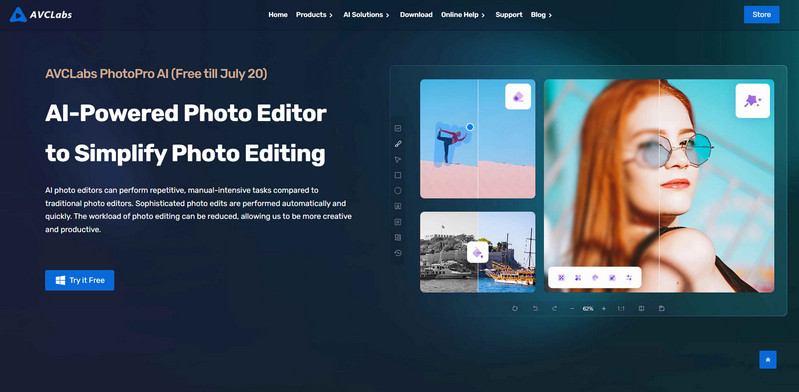
In the realm of photo editing, the need for AI is becoming increasingly essential. With technology and imaging software continually advancing, there are many outstanding tools. Among them is AVCLabs PhotoPro AI, which harnesses the power of artificial intelligence to enhance and streamline the photo editing process efficiently.
AVCLabs PhotoPro AI is a cutting-edge photo editing application that leverages advanced AI-driven features, including:
- Blur Backgrounds, Faces, or Any Part of an Image
Just 3 simple steps to blur the background or faces in an image! You have the flexibility to blur any part of the image.

- Object and Background Removal
A standout feature of AVCLabs PhotoPro AI is its seamless capability to delete unwanted elements from images. The "Inpaint AI" tool simplifies a traditionally complex task.
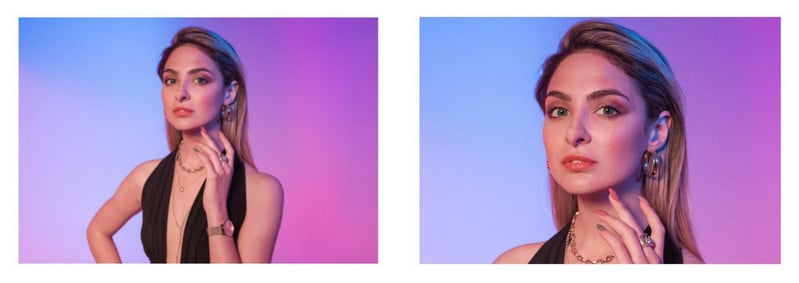
- Image and Face Enhancement
It automatically enhances just the right amount of details and reduces blurriness to older or lower-resolution portrait photos.

- Photo Quality Enhancement and Upscaling
Besides correcting blurriness, the software can improve detail in pixelated images and eliminate artifacts easily with just a few clicks.
- AI Photo Colorization
This feature adds color to any black-and-white photos, now with just one click in AVCLabs PhotoPro AI!

Let's see how it blurs images:
Blur Faces on Photo
Step 1:Open your photo using AVCLabs PhotoPro AI.
Step 2:Utilize the "Object Selection Tool" to pick out the face, which automatically detects the outline of a human face and outlines it with a blue frame.
Step 3:Navigate to the Adjust panel and select the Blur option to blur the face.
Blur Image Background
Step 1:Begin by opening your photo in AVCLabs PhotoPro AI.
Step 2:Utilize the "Background Selection Tool" to select the background.

Step 3:Navigate to the Adjust panel and opt for the Blur option.

Finally, remember to save your edited photo.
Key Features of AVCLabs PhotoPro AI
- Clear up blurry photos with advanced technology
- Cutout image to make the background transparent
- Remove unwanted objects, people, watermarks
- Change the style of image to create unique look
- Colorize B&W photos to make it come to life again
- Upscale photos up to 3x, 4x without losing quality
DOWNLOAD WIN DOWNLOAD MAC BUY NOW
Part 4: Conclusion
In summary, for the purpose of blurring image, the online tools and local programs discussed in this article can help you to achieve professional-quality results with ease no matter you want to protect sensitive information in an image or are looking to enhance the aesthetic appeal of your image. Whether you choose to blur an image online through user-friendly tools or prefer utilizing advanced software for professional results, by utilizing these resources effectively, you can blur images like a pro and elevate the visual appeal of your work.


Those worrying about background mess while on video call on Google Meet have good news to tone down their tension.
Google has now released the Google Meet background blur feature that video callers can use to mask the background mess and keep themselves in focus while video conferencing.
While detailing out the new feature about the Google Meet, Google has announced that the feature will be available for all G Suite customers.
The background blur feature integrated into the Google Meet allows users/callers not only to blur the unwelcoming background but also provides them with a bunch of Google Meet wallpapers to mask untidy background setting.


How many of us really engage with our meeting participants and make them feel like they had a memorable experience?
How many meetings do you remember from last month?
If you are like me, everything is a gray blur, and you rarely remember anything that was said or done in a remote meeting.
In fact, most of us forget 90% of what was said within 48 hours.Online whiteboards are great for asynchronous meetings where multiple people have to design and sketch out a concept over time.
Once your team has access, they can access the online whiteboard at any time to update, add information and organize the data.Reactiv SUITE to power your online meetingsReactiv SUITE is designed to solve the problem of low engagement in meetings.
Pin your camera and elevate your presence.

I placed the order from Aliexpress it came within a couple of weeks and here it is five in one Mini GPS Tracker as you can see for buyers cause pets surveillance seniors and kids so a variety of uses as you've got two different sets of instructions and they're both pretty much the same here's the tracker itself which if you've seen the other video I can tell you straight away it's a lot smaller than the other tracker there's various different ways of attaching the tracker to things this is the one powered way here's a magnetic way and Oshima the left hand there was the actual USB charger so you can fit the moment one.I'm honestly I'm not entirely sure what this one is I guess is for attaching to belts and we've got a little tool kit to be able to get into the tracker so I guess that's the the next step I've got my SIM card ready I've got my mini screwdriver so I'm going to take the back off it's just a simple matter of the two screws and then put it off with your your thumb nail the little SIM holder tray opens up now you need a nano SIM for this so your regular sim micro SIM and then nano SIM most times you get these days can be any of the three low you just saw then we're gonna pop it in make sure it's seated close the hatch slide it up and it locks in place we can then press the power button on the front you see the lights come on at this point to be an SDM really got any indication if it's set up you know if the Sims improperly so we're gonna go ahead and put the put the back back on with the two screws back in pace and here we are the lights flashing again I'm I entirely sure that indicates much what you do know is it says you should be able to call the number of the scene that's in the device any won't answer so won't go to answer machine and I tried that I rang the number and they just rang and rang around all's good so as with all these trackers you've got to text in the information to the tracker so you're texting to the sim that's in the tracker with the APN details.So the tracker or Messenger Tracker can set up the APN so that it can access the Internet basically you send it you should get a reply with it confirming and these are standard for giffgaff I do recommend giffgaff Sims I'll put a link down below you'll get five pounds credit if you use my link we then have to send the master phone number chiz my phone number that I'm texting from I'm not quite sure why show you figure out the basic blur the whole message out but that just lets it know that you are you are the master so now it's time I think to install the actual tracker app it's fairly small app strive for my clock so didn't take a second to download and the first thing to do is to register account phone number the device is the same that you put into the tracker and obviously then master phone with your phone number and then off here go into the app itself.

Lines Blur as Google, Facebook, and Amazon Eat the World – As the triopoly rises to the top and competes fiercely with each other for digital ad dollars, the worlds of search, social, and eCommerce will continue to blend together.
Marin Software’s Q3 Digital Advertising Benchmark Report found Stories represented 25% of their total Instagram ad spend, up from just 8% a year earlier—that’s a 212% increase YoY and rising.
So, it’s more important than ever to get the creative right, especially since Facebook is still working out the kinks of the format.
The Chatbot and Messenger Advantage for Brands – The number of mobile messaging app users in the U.S. will reach 171.3 million by 2022, according to eMarketer estimates.
The Opportunity: Messenger apps present an opportunity for brands to move conversations forward in a way unlike any other format.
Users often search for something much broader than a specific product, and beyond shaping marketing strategy, such marketing-centric data will increasingly be utilized across the organization.


