


Hi there! Are you looking for a Cricut Explore Air 2 Bluetooth connection? If so, then I’ve got you covered! I’ve always preferred connecting my Cricut via Bluetooth. Do you know why? Because I can’t have my computer and Cricut on the same table☹️. I had to keep them separately, so I had no option but to use a Bluetooth connection. Besides, I hate dealing with those clumsy wires. However, I don’t think anyone would like those messy wires😅.
Well, now getting to the point: I am a professional crafter who loves making DIY projects on Cricut. As an avid Cricut user, I am here to teach you how to connect your Cricut Explore Air 2 Setup via Bluetooth. If you are ready, let’s dive in!
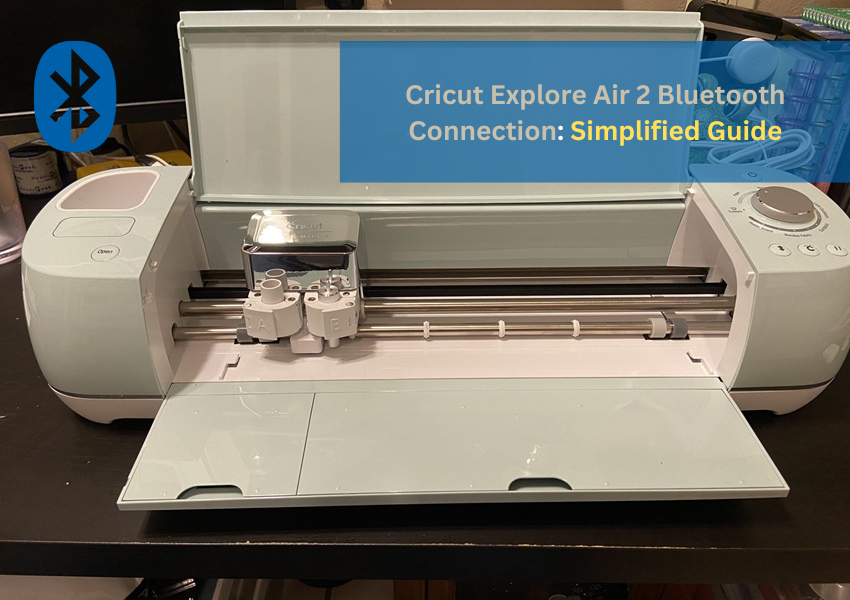
Cricut Explore Air 2 Bluetooth Connection on Computer
If you want to connect your Cricut cutting machine to a Windows or Mac computer, follow the steps below. Ensure you have placed your Cricut and computer within 10 to 15 feet. After that, you are ready to go😍!
For Windows
Here are the simplified steps to connect Cricut to a Windows computer using Bluetooth:
- The first thing you have to do is turn on your Bluetooth. To do so, navigate to the Start menu from the taskbar.
- And click on the Settings (Gear icon).
- Then, open the Devices option.
- Make sure you need to turn it on and click Add Bluetooth or other device.
- After that, you have to move further and select Bluetooth.
- Afterward, wait a while and see if your computer has detected your Cricut machine.
- Now, you will notice that your Cricut model is visible. The process is the same for all Cricut models.
- Finally, your Cricut machine has been paired with a Bluetooth connection.
- Launch the Cricut Design Space software and navigate to New Product Setup to confirm whether your Cricut is connected. There, you will see whether your Cricut is connected.
For MacBook
Here are the simplified steps to connect Cricut to your Mac system using Bluetooth:
- Under the Apple menu, you will find an option called System Preferences; you have to select it.
- Afterward, you will need to look for the Bluetooth app.
- Now, you should launch the Bluetooth app and check whether your Bluetooth is on or off.
- Once Bluetooth is turned on, you must wait for it to detect your Cricut machine.
- When the machine is detected, select the Pair tab to connect your Cricut with your MacBook.
- Finally, you have paired your Cricut to your Mac.
- To confirm, return to your Cricut Design Space and then Cricut New Product Setup. There, Cricut will show you that your device is connected during setup.
Cricut Explore Air 2 Bluetooth Connection on Mobile
Connecting your Cricut Explore Air 2 to your smartphone or tablet is also possible. All you need is a compatible device to install the Cricut app on it. Therefore, it is recommended that you use a compatible device only. If you are a Windows user, you must have Android 6.0 or later. If you are using iOS, you have to use iOS 11 or later.
Note: Your mobile device should be within the range of 10 to 15 feet from the Cricut machine.
For Android
Here are the simplified steps to connect Cricut to an Android phone using Bluetooth:
- On your Android phone, swipe below and click the gear icon to open your Settings.
- Once you have entered your phone Settings, go to the Bluetooth option.
- Now, turn on your Bluetooth.
- Wait and see until your device finds your nearby Cricut machine.
- Once it finds the Cricut machine, you have to click on it to pair.
- Finally, the Cricut Explore Air 2 Bluetooth connection is done.
For iOS
Here are the simplified steps to connect Cricut to an iOS phone using Bluetooth:
- Go to your iPhone and open the Settings app.
- Now, turn on the Bluetooth by tapping on the toggle button.
- Wait and let your iPhone look for your Cricut model.
- Once detected, click on it to pair.
- Now, you have connected your Cricut to your iOS device in no time.
So, weren’t those steps easy for you? I think it would be much better for beginner crafters who will be connecting their Cricut for the first time. That’s all for this guide on the Cricut Explore Air 2 Bluetooth connection. Happy crafting!😃
FAQs
What do I need to connect my Cricut Explore Air 2 to computer?
If you are connecting your Explore Air 2 machine via Bluetooth, you need a computer with in-built Bluetooth features. You also need a Cricut machine of any model. In addition, you should have a flat surface like a table or a floor to position your machine. Despite this, if you are connecting your Cricut via Bluetooth, you should have a USB cable instead of Bluetooth.
Can I connect all Cricut models to Bluetooth?
Not all Cricut models have Bluetooth connectivity. The Cricut Explore, Cricut Maker Setup, Joy, and Venture series are easily connectable via Bluetooth because they have built-in Bluetooth. However, older Cricut models, like the Explore One machine, require a wireless Bluetooth adapter. In short, all Cricut models except the Explore One can be connected using Bluetooth.
Why is my Cricut not connecting?
If your Cricut machine is not connecting to your device, you might need to check the following points:
- If you are connecting it to the USB cable, check whether your cable is damaged.
- You can change the USB port on your computer. If the issue persists, you need to replace the USB cord.
- If you use Bluetooth, ensure you have placed the device and machine within 10 to 15 feet of each other.
For more information: cricut.com/setup app


