


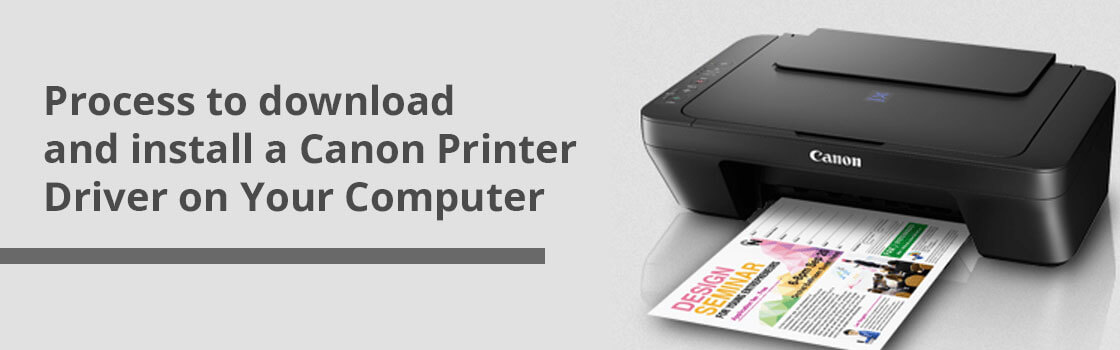
All the models of Canon printers take the same amount of time to set up regardless of their price range. Though, downloading and installing the software will differ depending on the type of model. Let’s examine how to set up Canon printer models from ij.start.cannon
- The first thing you need to do is remove the packaging.
- Ensure that all tape, plastic, and other packaging is removed from the printer.
- The printer needs a clean surface to function properly.
- Check the accessories that came with your inkjet printer. Accessories include the Setup CD, Power Cable, Cartridges (Windows and Mac), manual, and other items.
- A power cord is located at the back of the printer. Attach the power cables to the printer. Use the power switch to start the setup process.
- Press the ON button to turn your printer on.
- The paper output tray should be pulled once a stable glowing light is visible.
- After that, slide the paper guide.
- Completing all blank pages that are valid and ensuring everything is organized is essential.
- Your Canon printer model needs to be turned on first so that it can be configured. To download the latest printer software, visit ij.start.cannon
Learn How to Connect Your Ij.Start.Cannon Printer to Wifi
There is something you need to do beforehand in order to access the ij start cannon, your printer needs to be properly connected to the Wifi. to connect your printer You need Cannon Printer wireless setup. You can check out the steps below to verify your printer is connected to the Wifi.
- To start the network configuration, you have to turn on the printer and press the Power button. The Power LED should be stable and solidly green.
- The Network Settings screen will now be visible when you press the Menu button.
- This will give you several options for connecting. Select Wireless LAN Options to open a pop-up window on your printer screen. Tap OK.
- Select the SSID settings option and, after that, select Access Point. Choose your favorite network name, and then input the Wifi password key.
- Continue holding down until the screen appears that says Connected. Tap OK.
Pressing the Wifi buttons will establish a successful network connection. You can find it on the printer’s operational panel. Now go to your router and find the WPS push button. The WPS button should be activated within two minutes. Now the status of your printer will be Connecting. You must wait for a few moments. You can then complete the configuration by pressing OK.
Setup Canon Printer On Windows (Wireless)
- Download, Install Printer Driver and activate the driver for your printer by visiting the “ij.start.cannon” website.
- After that, connect the Canon printer to the power chord. Next, turn it ON.
- Save the driver setup file, then click on Next. Now, you will be presented with a screen that allows you to select “Wireless Setup”.
- Choose the wireless option and click the button to activate the wifi setting.
- Select your device settings, and then click on OK.
- Next, click Device Settings and navigate down to LAN Setting. Here, you have to click on the OK button.
- Next, click LAN Settings. Choose the Wireless LAN Setup option.
- Make sure your WiFi router is turned on. Once the printer Is powered up, the WiFi LED light should flash.
- Next a network listing will pop up. Click on OK and choose your WiFi networks.
- After entering your WPA/WEP key, click the “OK” button. Next, enter and confirm your password. Click the “OK” button.
- You can connect your printer to a wireless Internet network in just a few minutes.
- This is how Canon Ij Wireless Setup in Windows by Ij Start Canon is made simple.
You can ensure that your Windows printer is properly installed by following these steps.
- First open the control panels. Next, select devices & printers.
- Confirm that your printer shows up on the next screen. To add your printer, click the ‘Add printer’ button.
- This page will display all available printers. The screen will allow you to choose the Canon printer.
- Tap Next. Wait for the printer details to appear.
- When the printer is added, a checkmark with a green background will appear.
How to Install Canon Printer on Mac Using ij.start.canon?
- First, download the driver from ij.start.canon. Now you can move to the next step.
- To set up your Canon printer on the same WiFi network as your device, follow the steps in this section.
- Next, click on “System Preferences” in the top-left corner of your Mac. You may also choose to open it via the search option.
- Click now on the printer-shaped icon “Printers, scanners” from System preferences.
- After clicking the “+”, you will see a pop-up window.
- If your printer has been connected to the network already, you can see its name in the left-hand pane. Click it to initiate the setup process.
- Finally, after the process is completed, the printer will be displayed with a green checkmark. For verification, you may print a test image.
Setting Up a ij.Start.Cannon Printer Using a USB Cable
A USB cable setup may be able to work for you if your inkjet printer does not connect wirelessly. Your USB cable must be between 3 and 5 m long. Start canon ij downloaded from https ij start cannon configuration by following the below steps.
- Keep your Canon printer on.
- You have two options: the CD setup and the online driver download. So, insert the Canon setup disc that was shipped with your printer. Otherwise, follow step 3.
- Go to Canon printer support – ij.start.canon setup
- To access the download page, click “Set up” by entering your Canon inkjet model.
- IJ Printer Products page allows you to choose your product. You can also enter the model name in the box shown for direct drivers’ download.
- Select your operating system in the upper right corner. Click on the Download tab and wait for Canon printer drivers and software to be downloaded.
- Double-click the installer setup button to launch the Setup. It will automatically extract your canon ij configuration file.
- Click on “USB connectivity” on the next page.
- Connect the USB cable to your printer and computer (or laptop) when it appears. Insert one end of the USB cable into your PC USB port, and the other into your Canon model’s rear.
- Permissions are required to select the printer model. Choose access points from this list.
- Follow the screen instructions to finish the USB setup. Complete.
You can easily download the driver according to your model as ij start canon is designed with a user-friendly interface. canon ij printer provides an answer for all type of canon printer problems by which you can undoubtedly figure out how to set up from ij.start.canon and improve insight


