As more and more of our lives are spent online, the need for robust security measures becomes ever more important. Windows Defender is a built-in antivirus program that comes with Windows 10, and activating it is a critical step towards securing your PC. Here’s a step-by-step guide on how to activate Windows Defender.
Step 1: Open the Windows Security App The first step to activate Windows Defender is to open the Windows Security app. To do this, simply click on the Windows button on your taskbar, then type “Windows Security” into the search bar. Click on the app when it appears in the search results.
Step 2: Select the “Virus and Threat Protection” Option Once you’re in the Windows Security app, select the “Virus and Threat Protection” option. This will take you to a screen that shows your current antivirus status.
Step 3: Enable Real-Time Protection The next step is to enable real-time protection. Real-time protection is a crucial feature that continuously monitors your PC for threats and viruses. To enable it, simply click on the “Manage Settings” option under the “Virus and Threat Protection” section. Then, toggle the switch to turn on “Real-time Protection.”
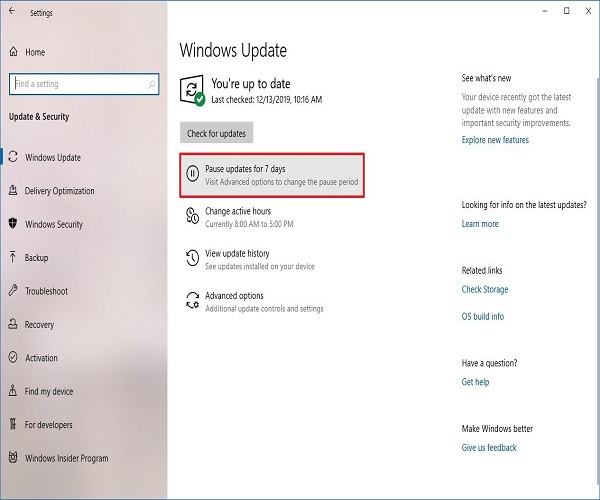
Step 4: Check for Updates It’s important to ensure that Windows Defender is up-to-date. To check for updates, go back to the main Windows Security app and click on the “Virus and Threat Protection” option again. Then, click on “Check for Updates” and follow any on-screen prompts.
Step 5: Scan Your PC With Windows Defender activated, it’s a good idea to run a scan of your PC to check for any potential threats. To do this, go back to the main Windows Security app and click on the “Virus and Threat Protection” option. Then, click on “Scan Options” and choose either a quick or full scan.
And that’s it! Activating Windows Defender is a straightforward process, and it’s an essential step towards securing your PC. By following these simple steps, you can activate Windows Defender and ensure that your computer is protected from potential security threats.
Nowadays, we all understand the mengetahui hp sudah di root importance of having an adequate antivirus and security in place to protect our digital devices and information. Windows Defender is Microsoft's built-in antivirus and malware protection program. This program is preinstalled in all versions of Windows 10, 8, 7, and Vista. Learning how to activate and setup Windows Defender is essential for protecting your computer from any malicious activity. Read on to learn more about activating and setting up Windows Defender for optimal security.
Activate Windows Firewall
Windows Firewall is a built-in security feature of the Windows operating system. It is an essential part of Windows Defender, as it is responsible for restricting specific programs from accessing external networks or the internet. To activate the Windows Firewall, open the Control Panel and select ‘System and Security’. Select Windows Firewall and you will be presented with two options, ‘Turn Windows Firewall on or off’ and ‘Allow a program or feature through Windows Firewall’. Select ‘Turn Windows Firewall On or Off’ and follow the on-screen prompts to enable the Windows Firewall.
Activate Windows Security
Windows Security is another important part of Windows Defender. It monitors and evaluates the overall security of your system, and will alert you when a problem is detected. To activate Windows Security, open the Control Panel and select ‘System and Security’. Select Windows Security, and select the option ‘Turn Windows Security on or off’. Follow the on-screen prompts to enable Windows Security.
Setup Windows Defender
Once you have activated Windows Firewall and Windows Security, you will be ready to setup Windows Defender. To do this, open refund game steam the Control Panel and select ‘System and Security’. Select Windows Security and then select the ‘Windows Defender Settings’ tab. Once you are in the Windows Defender tutorial, you will be presented with several options. Select the ‘Turn On Real-time Protection’ button to enable real-time protection for your system.
The ‘Exclusions’ tab will allow you to select specific files or locations on your computer that are excluded from the real-time scans. This is useful if you want to exclude certain files or folders from the scan, such as files that contain sensitive or confidential data. The ‘History’ tab will show you a list of viruses, threats, and other malicious activity that have been detected by Windows Defender.
The ‘Options’ tab will allow you to customize the scan settings. Here, you can select the type of scan to be run, the frequency of the scan, and the scan’s sensitivity level. It’s important to keep top up OVO di Indomaret these settings at their default levels, as the higher the sensitivity, the more likely false-positives may be detected.
Conclusion
By following these steps, you have successfully activated and setup Windows Defender. Windows Defender is a powerful antivirus and malware protection program, and is essential for keeping your computer safe. It is important to keep your system secure by regularly running scans and updating the security features of Windows Defender. This will help keep your computer and your data safe from malicious activity.

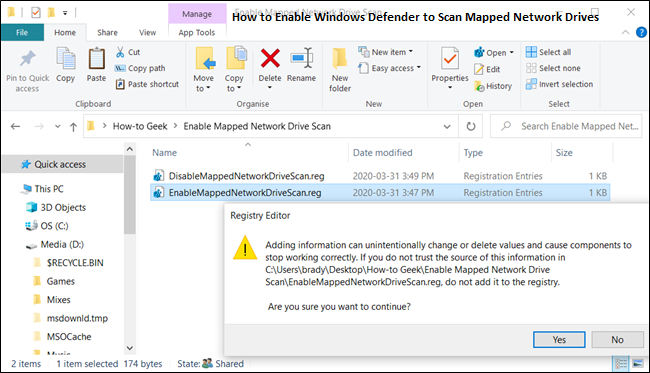
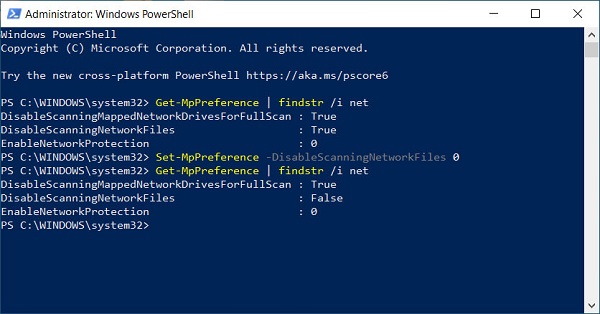
In case you have a mapped network drive on your Windows 10 PC, then Windows Defender will not scan it for potential security risks.
But it is essential to make sure that it is also scanned during every routine scanning of Windows Defender to keep your system safe.For more info: Windows


Find the all resources in our different windows hosting plans for running the Windows platform based website then activate our windows server for your business site at Globehost.

Majority of the Windows users think that they require different types of security software on their PC.
Many people prefer using Windows Defender, which comes in Windows computers by default.You might get an error code 088e5e021f at the time of using Windows Defender, so go through this blog carefully for fixing it.The method of restarting the Security Center ServiceFirstly, tap on the Windows +R button of your keyboard for going to the Run dialog box.Then, into the Run dialog box, write ‘services.msc’.Next, tap on Enter button of your keyboard.After that, do a right-click on Security Center.Lastly, select Restart from the given options.The method of removing Conflicting Registry EntriesFirstly, go to the Run dialog box one more time.
For doing it, you need to press the combination of the Windows+R button on your keyboard.Then, write ‘regedit’ into the Run dialog box.After that, press on OK.As soon as you go into the Registry Editor, go to the given below:HKEY_LOCAL_MACHINE\SOFTWARE\Microsoft\Windows NT\CurrentVersion\Image File Execution OptionsNext, search for MpCmdRun.exe, MSASCui.exe, or MsMpEng.exe entries.It will be located under the Image File Execution Options tree.Then, if you get any of the entries, then you need to do a right-click on it.Lastly, press on Delete.More To readFix: Windows Media Player Error C00D11B1?How to Fix Wi-Fi Adapter After Installing Update KB4515384The method of going for the Group Policy Editor for switching on Windows DefenderFirstly, sign in to the Administrator ID in the device.Then, tap on the Windows+ R button of your keyboard for going to the Run dialog box.Next, write ‘gpedit.msc’ into the box.After that, tap on Enter.As soon as the Group Policy Editor is up, you need to follow the given below order.Firstly, you need to tap on Local Computer Policy.Then, tap on Administrative Templates.After that, tap on Windows Components.Next, click on Windows Defender Antivirus.Then, visit the right-hand side of your screen.After that, press on Windows Defender.Next, do a double click on the option ‘Turn off Windows Defender Antivirus.’Note that a new window shall get displayed on the screen.
Press on the Disabled.Lastly, tap on OK for saving the changes that have been made by you.Note: After turning on Windows Defender by the Group Policy Editor, look if you can access the Windows Defender.
You shall be able to turn on the Windows Defender with the help of the Registry Editor.Source : How to Fix Windows Defender Error Code 0x8e5e021fAlex Smith a creative person who has been writing blogs and articles about cyber security.
He writes about the latest updates regarding mcafee.com/activate and how it can improve the work experience of users.
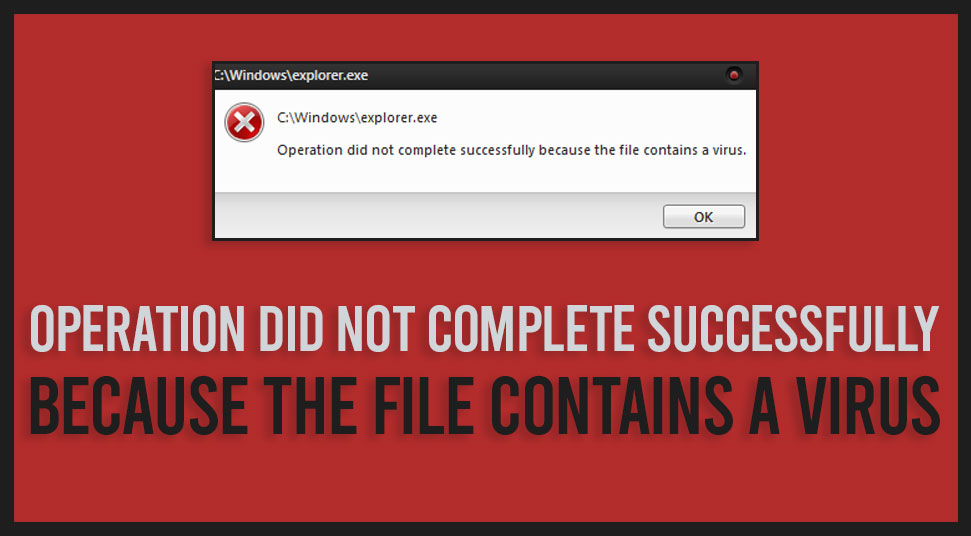
There are various reasons for encountering system errors on devices and one of the prominent causes of system errors is system viruses.
It might be “ERROR_VIRUS_INFECTED” basically followed by the error notification “Operation did not complete successfully because the file contains a virus.”
Here is how to troubleshoot the issue of virus threat on your system:
Go to the left-hand side panel and then tap on “Windows Defender” and then deactivate the option “Real-time protection” located at the right side section.
In some cases, users reported that the above method would only deactivate “Windows Defender” provisionally, and this causes the software to get activated automatically after a span of limited time.
First of all, tap Windows and R keys together from your keyboard and then type “Regedit” in the provided Run dialog box.