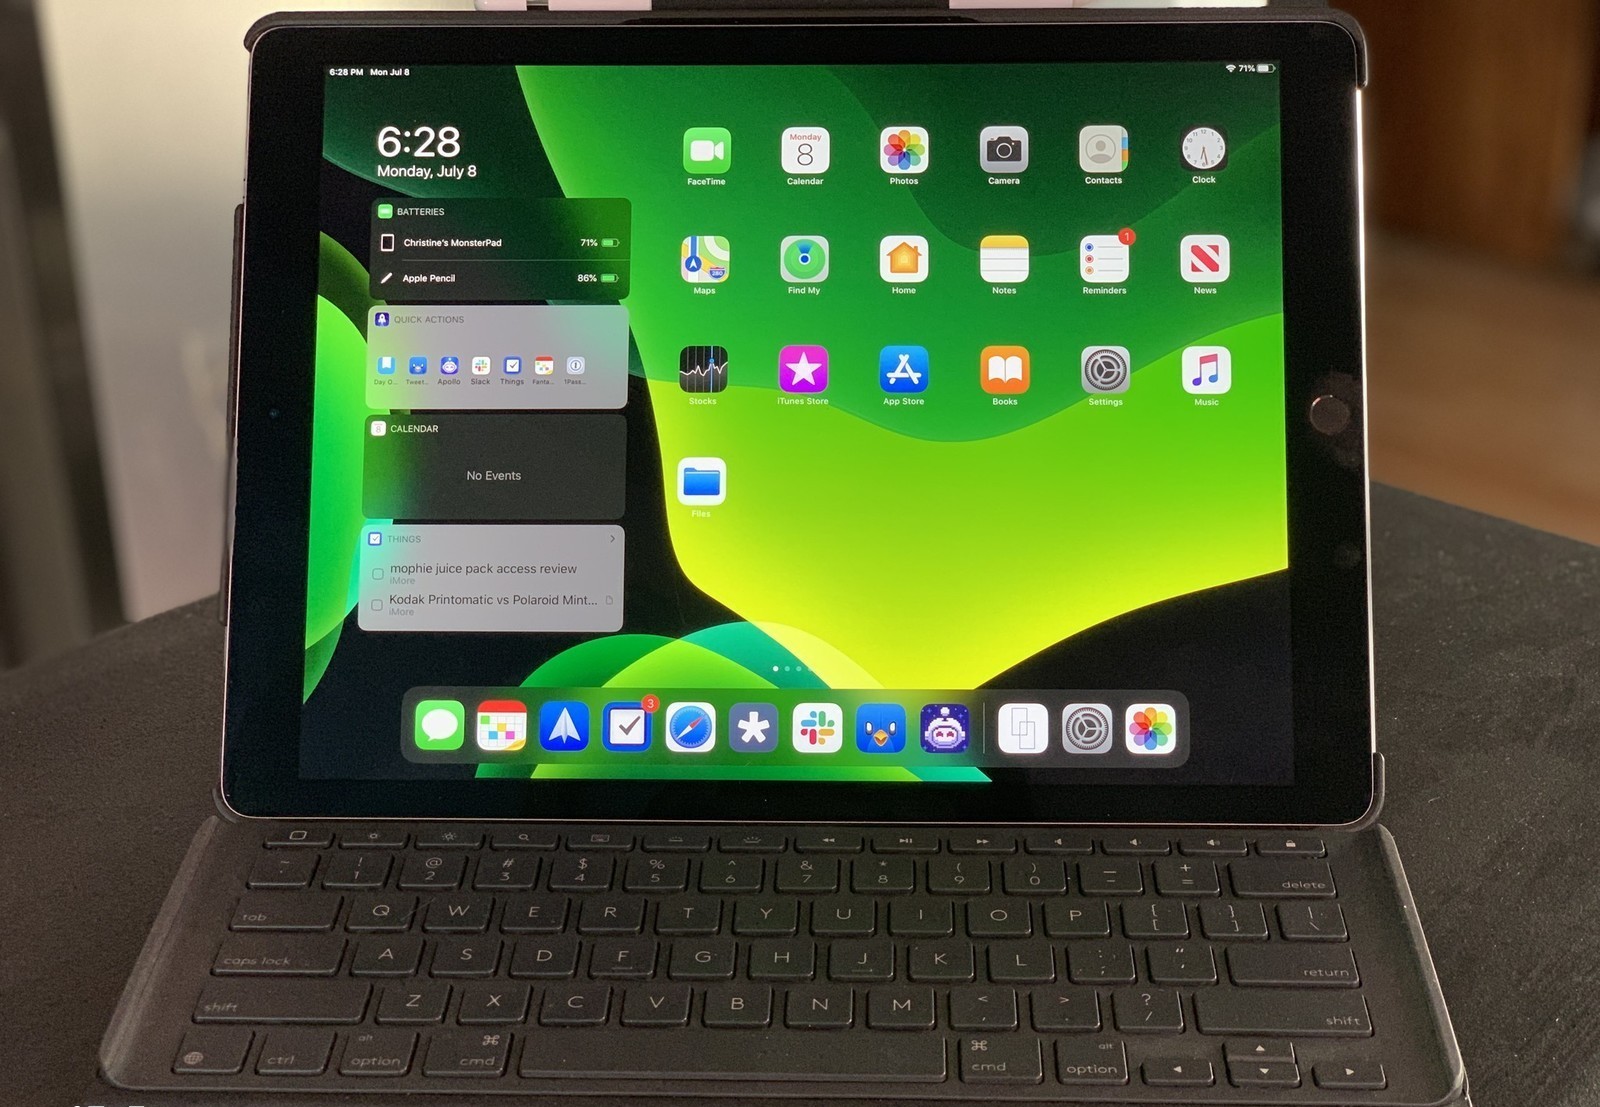
If you want to make your images and video well organized, then the Photos application will help you place them into smart groups which depend on the time and location. Moments is the smaller group, Collections is the larger groups, and after that, Years is the largest group. If you want to navigate photos on your iPhone and iPad, then follow the instructions mentioned below.
Steps to Navigate Between Moments, Collections and Years Smart Groups
• Open the Photos application.
• You will get this app on the Home screen of the iPhone or iPad.
• Press on the back option.
• It is located on the upper left-hand side of the display.
• Press on the photo or video thumbnail to navigate the photos to the small group.
• Some of the iPhone applications allow you to go back by sliding from the left-hand side.
• This is a gesture which is not available in the Photos app.
Steps to Navigate Between Years, Months and Days in Your iOS 13
• Open the Photos application.
• It is given on the iPhone or iPad with iOS 13.
• Press on the Photos option in case you have not open it yet.
• Press on the timeline view option which you wish to get.
• The timeline options are “Years, Months, Days and All Photos.”
• In case you begin at Years, press on the year and it will change into the Months.
• Pressing on the picture will change it into the All Photos view.
• You can go back to the view by pressing on the Years, Months, or Days located in the textbox over the Photos options.
Steps for Viewing Picture and Video Locations on Your Map
• Open the Photos application.
• It is located on the home screen of the iPhone and iPad.
• Press on the location name given over the photos group.
• Slide up for searching for the map.
Steps for Viewing Picture and Video Locations on Your iOS 13
• Open the Photos app on the iPhone or iPad with iOS 13.
• Ensure that the Photos option is already opened on the screen.
• On that window, you can change between Years, Months, Days, and All Photos.
• In the Months or Days option, press on the three dots symbol.
• You will get this symbol on the collection thumbnail.
• Press on the Show Map option.
Steps to Navigate Between Picture or Video in Years or Collections
• Go to the Photos application.
• You will get this on the home screen.
• Keep pressing on the Year or Collection view display.
• Press and swipe the finger on the backward direction and above the collection.
• It will enlarge the thumbnail.
• Click on the photo which you wish to see.
• In case you have the pre-3D Touch iPhone Model, press on the picture.
Davis Johnson is a self-professed security expert; she has been making the people aware of the security threats. Her passion is to write about Cybersecurity, cryptography, malware, social engineering, internet and new media. She writes for Norton security products at norton.com/setup.
Source: http://norton-us.com/how-to-navigate-photos-on-your-iphone-and-ipad/

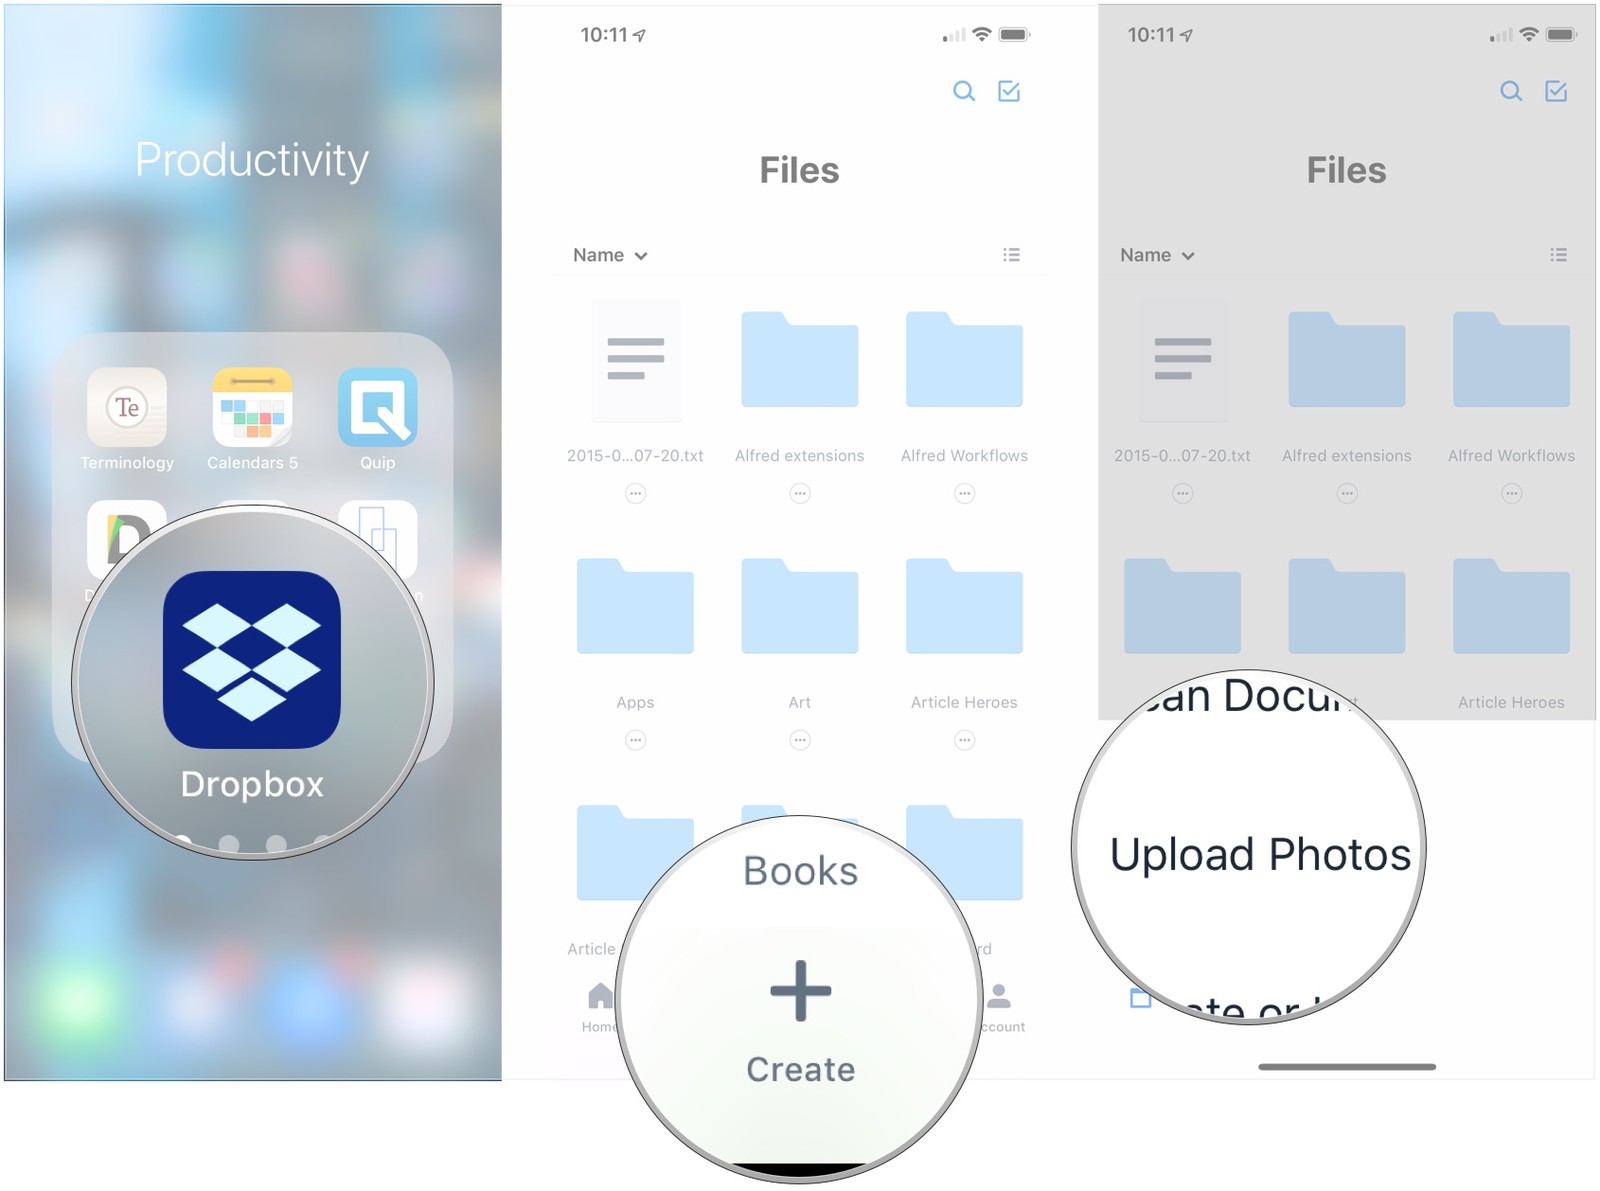
Dropbox app is a software that stores all kinds of files, documents and images to save some space on your device.
It keeps your data safe and asks for a password every time you want to reach your files.
It has four-tier yearly plans with free-trials.
The plus plan provides 2TB space, security, anytime-anywhere access to the files, and costs $9.99/month if billed yearly.
The professional plan offers 3TB space, secure sharing, two-factor authentications, etc.
The advanced plan provides phone support during work hours and gives you an upper hand to audit logs with file event tracking, and it charges $20/user/month if billed yearly.

Best Tips for Recovering Forgotten iPad PasswordiPad allows users to have multiple passwords to secure sensitive data, and it is advised to have different passcodes and passwords to improve security.
Such as you need to have the passcode to unlock the device, then if you have used Restrict Content, you will need the passcode of that, and then if you want to access the Apple ID.
Having a lot passcode & password, can make you confuse and sometimes forget these codes.
If you forget it then, you can recover it by following methods:Source:-How to Recover Forgotten iPad Password or PasscodeRecovering the Password of Apple IDIf you haven’t used the Apple ID password (because of active Touch ID), there is a high probability that you will forget the password of Apple ID.
To recover the password of Apple ID follows these steps:Open the website appleid.apple.comOn the home page find Forget Apple ID or Password (which is at the bottom of the screen ).Fill your Email address which is connected to that Apple ID, and tap on Continue.Fill the phone number for verification.Then you will get a notification in every device, all you have to is click on the Allow after that follow the steps of instructions to reset the password.If other devices are unavailable, then you have to click on the Don’t have access to Your Devices.The pages following that are going to have some other options by which you can reset the passcode of the Apple ID.By using the Find My iPhone; you have to sign out your friend’s account, then click on the Forgotten Passcode on that iPhone.If you are setting the passcode for the first time, then you have to choose the option Setting up an iOS device for the First Time.Reach out to the Apple Store seek help there.Recovering the Passcode of iPadIf you have forgotten your passcode, then you can use Face ID or the Touch ID to unlock the device.
When the device reboots then the passcode becomes necessary.The only trick to resolve this problem is by Resetting the iPad to the default factory settings.

You can use your favorite stickers with the iMessage applications center.
Apple has made it possible to make your message more interesting through stickers and applications in Messages.
You can apply stickers as stand-alone pictures or smack them right on the top of somebody’s conversation bubble.Read more - https://my-blog-search.com/how-to-use-apps-and-stickers-in-messages-on-ipad-and-iphone/

Just like other brands, Apple doesn’t provide any straightforward process to delete multiple contacts at once.
Still, if you are searching for an efficient procedure to remove certain contacts from the contacts list, then this blog is for you.
Here is how you can delete multiple contacts at once on your iOS device.Procedure to Delete Multiple Contacts at the Same Time using iCloudiCloud is the best cloud computing and data storage platform.
If you want to make changes to your contacts list, all the modifications will automatically reflect your synced devices.
To do so, you need to use the web edition of iCloud on your Mac.Follow these instructions to delete several contacts at a time via iCloud:At the start, visit the web page of iCloud via the link that is iCloud.com.Then, sign in to the account via Apple ID and Passcode.After that, choose the Contacts option by navigating the iCloud main page.Next, select and highlight the contact you desire to remove by tapping the Control key on the Mac.Now, scroll down the page and then choose other contacts to remove.Hit the gear-shaped icon from the lower left of your screen.Then, hit the Delete tab.If it asks for confirmation, press the Delete tab again.The selected contacts have been successfully deleted from all the synced devices.
In case you find the solution is slightly complicated for you, try a third-party iOS app to delete your desired contacts in one go.Procedure to Delete Multiple Contacts via GroupsYou can easily use the third party app “Groups” that provides advanced features via in-app purchases.Here is how to delete contacts with the Groups app:First of all, you have to download the Groups app directly on your smartphone.Then, open the app.Allow the app to access all your contacts when it asks to do so via prompt box.Choose the option “All Contacts” from the provided listing.Go through the contacts listing and then mark the contacts you desire to remove by hitting the circled-shaped icon located towards their name’s left-hand side.Hit the option “Choose Action” from the uppermost section.Then, press the option “Delete Contacts…” on the prompt box.Now, hit the “Remove from my iPhone!” option to verify your decision.Congrats!

With the new iOS 13 rolled out by Apple, users are now able to receive voice announcements through Siri.
As per this new voice announcements feature, whenever a user gets a new text message, Siri would immediately let you know about the person who has to send the message by using your Apple AirPods and then will read out the message that is sent to you.
As of now, this new feature works on both iPhone and iPad, still this unique voice command feature lacks in compatibility with any other third party software.
Still, Apple has announced that they have planned tie-ups with other messaging applications as well, and soon users will be able to also enjoy this feature on other third party software’s.The voice announcement feature will not only allow an individual to hear their incoming text messages via Siri, but users will also be able to send their reply by simply saying Hey Siri Tell them “and then your message.” If you wish to activate this exciting new feature on your Apple smart device, then follow the steps mentioned below in correct order.Steps to Enable Message Announcement FeatureFirst, insert your Apple AirPods in your ears.Now pair your AirPods with your Apple smart device.Then choose the “Announce Messages with Siri” option.
This is a onetime step, and you will not witness this pop-up in the future.By following the steps mentioned above, a user can easily enable the message announcement feature on their Apple smart device.
Still, if you feel a need to pause or disable this feature on your Apple smart device, then follow the simple steps mentioned below to do so.Steps to Disable Message Announcement FeatureLaunch the “Settings” app from your iPhone or iPad.Now choose the “Notification” option from the Settings menu.Then select “Announce Message with Siri option.After that disable the feature by using the Toggle adjacent to the Announcement Message with Siri option.By properly following the steps mentioned above, an individual can easily disable the message announcement feature on their device and resume to normal service on their device.

If you said yes, then it means your device has some issues, but it doesn’t mean you cannot fix it.
Do not be anxious as there are still some ways that you can try to troubleshoot the ongoing issue.
This article has some practical resolutions to fix an iPhone that freezes on the Apple logo during the startup.So without wasting any more time, let’s get started.Reasons for Your iPhone Freezing on the Apple LogoWhen there are some common or critical glitches in your device’s operating system or firmware, it might cause your device to stick on the boot screen.
It can be pretty puzzling for a regular user to find the exact cause of this problem.
Here are the common reasons for the Apple logo to stick on your iPhone screen:Glitches in the newer iOS updateA malfunction during the jail-breaking processInstalling a Beta iOS on your iPhoneSharing data between an older iPhone to a new iPhoneMalfunction in the hardware or componentsTroubleshooting an iPhone That is Stuck on the Apple LogoIf you have noted your iPhone freezing on the boot screen for more than 20 or 30 minutes without any changes, you should try these three effective fixes:Fix 1: Rebooting Your DeviceMost users who have encountered this problem have fixed it by simply restarting their phones.
All you need to do is try a simple restart and see if that fixes the problem.