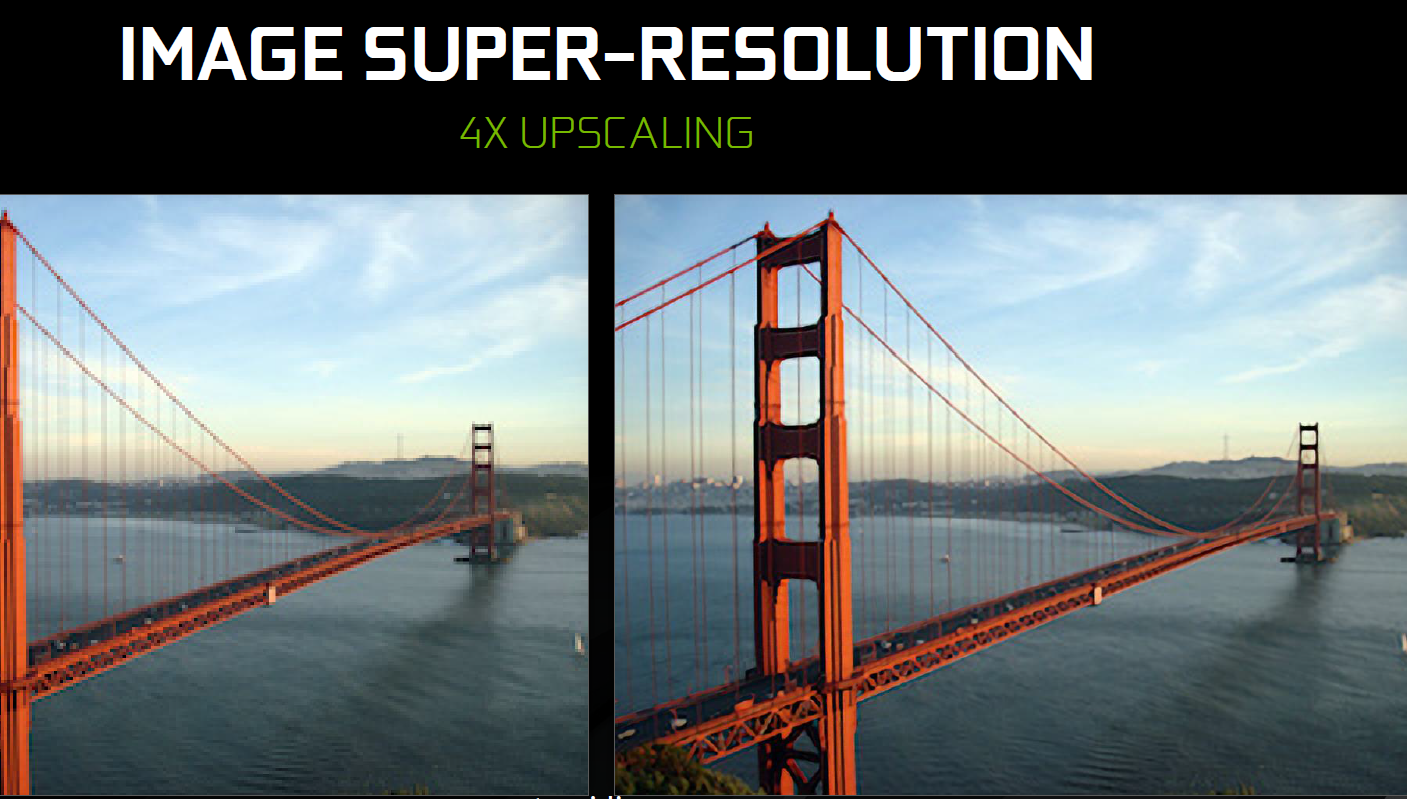
When enlarging images using image-editing tools, empty pixels are entered into the ensuing gaps and thereafter, the gaps are routinely painted by the application. If you can obtain software that allows you to edit images including Photoshop, you may choose either “Bicubic Smoother” or “Preserve Details” to enhance the quality of the image during image expansion.
On the contrary, in case you cannot access Photoshop, you may obtain similar results with GIMP- freely obtainable photo-editing software. Or still, you may choose to use Pixelmator. This allows you to manually obtain this result by raising your photo size to minimally10% each time. Or there are online tools available those need no knowledge of softwares and take only few minutes to enlarge photo online. Such sites are one of the best way to use to finish your job in just few minutes.
Photoshop
Step 1 – Go to Photoshop and press on Image (Photo) menu. Choose the option denoting Image Size. Find the Resolution location and raise the number to 300. Press OK to affirm
Step 2 – Raise your image size by inserting the figures in the Width and Height fields
Step 3 – Press the Resample option and choose Preserve Details. Using the Noise Reduction button, tweak your enlarged photo’s sharpness. Press OK to assert your choice
GIMP
Step 1 – Click to open the Gimp and choose Image Menu. Press the button named Scale Image.
Step 2 – Insert the figure in the Width and Height slots. Using the Y and X resolution fields, increase them to 300. Press the checkbox denoting Interpolation and select Cubic. Press Scale to verify your settings.
Step 3 – Click on the Filters to view menu. Press Enhance followed by Sharpen. Change the Sharpness handle either to decrease or increase the sharpness level of your photo. Press OK for confirmation.
Pixelmator
Step 1 – Click to open the Pixelmator and choose the Image option. Press the button denoting Image Size
Step 2 – Using the Height, Width & Resolution fields, increase both the image resolution and size of your photo. Click on Resample Image to ensure that it is checked. Press the OK button to verify.
Step 3 – After opening the View field, press the Show Effects option. Press the Sharpen button and afterwards, using the Sharpen option, double-click on it. Change your slider to enhance your photo’s sharpness and press OK to verify.
Bottom line – By choosing to increase or reduce the size and resolution of your photo, it is obvious that you want to achieve the best results at the end. You undoubtedly don’t want to be left with an image you wouldn’t wish to display on your wall for your family and visitors to look at. As such, by applying the aforementioned techniques, you can be assured that your end results will be the most amazing. Use our step-by-step guide to achieve simple, yet stunning images.


