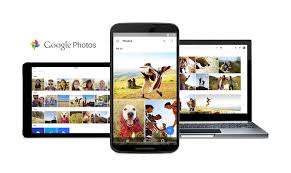
Google Photos makes it possible to store a lifetime of memories, often without paying a single dime.
Luckily, Photos is filled with tools to help you organize your collection and make it more manageable, and most of them require little to no effort to embrace.
The most basic method for organizing Google Photos is the good old-fashioned photo album.


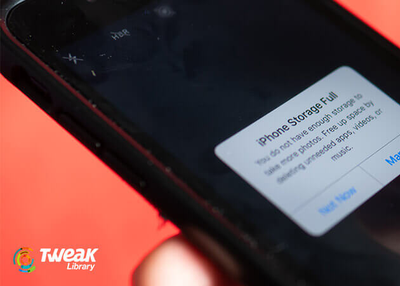
In your iOS devices, you may want to organize or manage all your images stored.
The Photo app on your smartphone enables you to access the image or video that you want.
You may find all types of pictures & other videos like your selfies, Panoramas, Streams, Videos, and Camera Roll Photos, and so on.
It is generally located on your application drawer or the Home Screen.
After that, you have to hit “Done.”
Adding-on your images and videos to the current album through the Photos app on your iPhone or iPad

OK, I know what you’re thinking—the last thing we need is another messaging service from Google.
But this one might actually be good.
Instead of a whole new app, Google is building its new messaging service right into the Photos app.
It’s basically Google Photos DM, as it only works if the person you’re sending a pic to has the Google Photos app installed, like Twitter’s or Instagram’s DM.
Then when you share a message via Photos, you’ll be starting a conversation just like if you sent a MMS through Android Messages.
If the recipient doesn’t have messages, sharing will work like before—creating a dedicated album and then sharing that via a Google Photos link.
Not only did Google introduce the latest phone models, but they also came up with a Photos Editor that has a whole new range of editing features.There are unlimited photo editing third-party applications available, but Google Photos Editor includes advanced tools, including portrait editing on any image, granular manual controls, and much more.If you’re an Android user, using the Google Photos Editor is an excellent way of editing pictures and enhancing their quality.
Read along to learn more!How to Use the Manual Controls on the New Google Photos Editor?Editing your pictures becomes the easiest job with the new Google Photos Editor.
Follow the steps mentioned below to control the settings of the images using the editor manually.Launch the Google Photos App.Select and open any picture to edit.Click on the editing icon present at the bottom of the screen.All the editing modes will appear at the bottom.
These controls include Brightness, White Point, Contrast, Highlights, Black point, Saturation, Warmth, tint, Shadows, Blue tone, Skin tone, and Vignette.A slider for the control will appear.
Drag the slider to increase or decrease the settings of the control, for instance, Brightness.Once you’ve adjusted the slider, hit the ‘Done’ button.Also, after you make adjustments with all other modes, click on the ‘Save’ option.That was easy, isn’t it?
Even though all the adjustments are made manually, you can create a masterpiece out of an ordinary picture.Portrait Lighting Effects on the New Google Photos EditorPortrait Lighting Effects is one of the most exciting features introduced by Google.
Google Photos is the best way to manage, compile, and store all your videos and photos at a single place.
Not just this, you do not even get any notification if the link of your album is public, or when anybody joins or views or even saves anything from the album.
As Google fails to help, there are some tricks we know that you can use to protect your photos.
From the Options tab, turn off the toggle that says ‘Link sharing’.
You will not have to worry about those who joined the album using your link, as the existing members will stay joined within the album.
For this, you must keep a watch on the joining members as you share your link and be quick in turning it off as soon as everyone joins.

Google Photos is considered the best storage option for saving your photos without any fear of misplacing.
But there are lots of circumstances that have been seen where users complain that their images are not available in the store or they deleted photos mistakenly from a particular folder available in Google Photos.
But Google Photos allow you to recover your deleted photos within a 60 days time period because deleted photos go to the Trash folder from where you can easily recover them.
If you don’t know how to recover Google Photos after 60 days or within this time period, then you can follow the mentioned instructions to recover your photos on multiple devices.The text above is a summary, you can read full article here