


But some time Cache can get corrupted or damaged so in such case it is required to clear the cache so that it doesn't have any effect on the system.
For this purpose you need to clear following caches:
Delete windows 10 update cache; Go to “File Explorer” > In the View Menu check “Show hidden folders”.
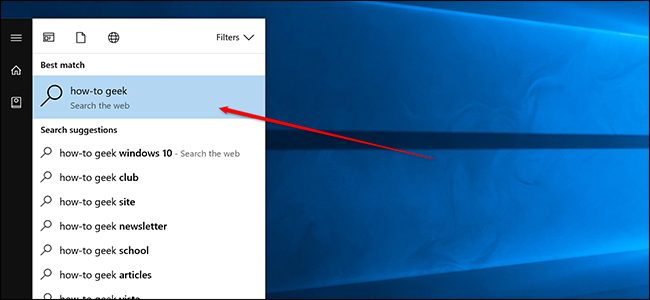
Remove cache of Windows store , Click on start menu and open “Run”, type “WSReset.exe”.
The command box contain no text.
Clear Temporary Files Cache; Go to start menu Type %temp% .


No, I don't mean the terms and conditions...
Microsoft emitted an update to next year's Windows 10, aka 20H1, last night, with some tweaked networking and the spreading of the creepier-than-you-might-have-realised Cortana to more Insiders.
Build 18956 is very much a steady-as-she-goes affair for Fast Ring Insiders as Microsoft continues to recover from the accidental blurting of the OS to all rings of the Windows Insider program, regardless of the desires of its unpaid army of amateur testers.
A user can then drop into the network to see what is actually using that precious data and slap on limits accordingly (although only on a network basis at present.)
As if to underline the inconsequentiality of the thing, Microsoft suggests wheezes such as asking it the weather, or requesting a joke.
The underlying assistant technology will, of course, find its way into Office.

Microsoft Windows 7 Customer Service Categories
Designed and developed by the world-renowned American multinational company, Microsoft, Windows 7 is a popular operating system.
Key features of this OS include Windows snipping tool, ease of displaying the content to an external monitor or the projector, Windows Explorer favorites, and more.
Despite embedding the top-notch features and advanced configuration in the operating system, you may experience some technical faults in it.
The faults could occur at any time; therefore, a user must have the Windows 7 customer support number to get rid of such issues.
To help you find the official Microsoft Windows 7 Support Number with the shortest-wait time, we ContactforGeeks enlist the same here.

It also gives you a random solution to log out from your account first and then get into your account by signing in.
Then navigate to the “HKEY_LOCAL_MACHINE\SOFTWARE\Microsoft\Windows NT\CurrentVersion\ProfileList.”
Now search for the folder with ProfileImagePath indicating to c: users.
After that, you have to reboot your system and then sign in with an activated user account.
Now, the directory storage location through a text will present on your display which reads: C:\Users\(Your User)\documents.
Now, Sign out from your existing account and then re-log into your issue, creating an account.
In this post, we will discuss Windows files and folders that you can delete and why you may want to remove them.
You can also go clear up space by going to Settings (press Windows and I key together)
On the Settings page, click System and then from the left pane, navigate and click Storage.
Before deleting all the files and folders, you can check if you have any important file worth restoring, click Restore.
The Rempl folder consists of various small files and a few Task Manager processes are connected to it as well.
You can delete Rempl folder and there are no side effects to it.
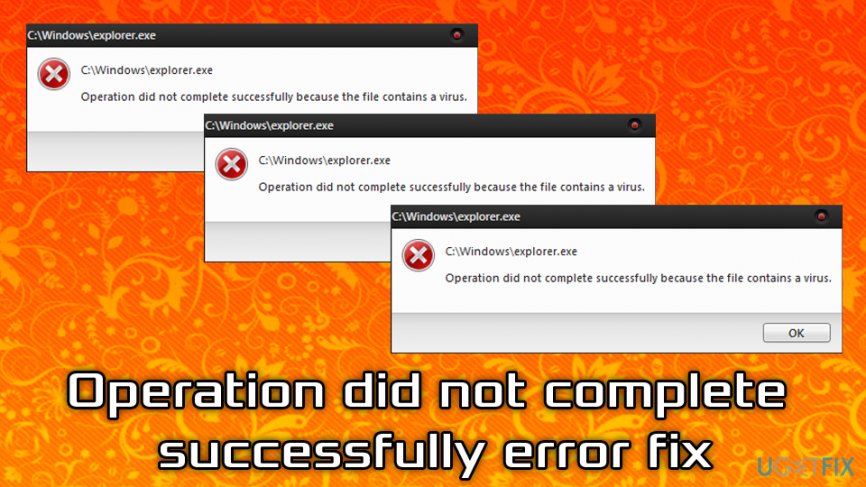
Computer viruses are a security threat and also cause several errors like “ERROR_VIRUS_INFECTED.” This error mainly followed by the “Operation did not complete successfully because the file contains a virus” notification.
In this article will show you how you can easily fix this issue with possible solutions and convenient methods: How to Fix Operation Did Not Complete SuccessfullyChange AntivirusRemoving your antivirus from your operating system is not the best fix, but it can help to fix this issue.
However, sometimes Defender causes the operation did not complete the error.To fix this issue, you need to disable Windows Defender properly on your system.Here are the steps to follow:Tap the Windows + I button on your keyboard to launch the settings application on your device.Under the Settings, select the “Update and security” option, in the left pane, move to the “Window Defender,” and then in the right pane click “Real-time Protection.”After the above process, Window Defender will turn off, and you can run your file without any issue.To completely turn off Windows Defender, you have to edit the registry.Here are the steps to follow:Tap the Windows + R button to open the run command prompt.In the Run command –line type “Regedit” and then tap the “Enter” button or tap “OK.”In the left pane you need to move on:HKEY_LOCAL_MACHINE\SOFTWARE\Policies\Microsoft\Windows Defenderkey.
Locate “DisableAntiSpyware DWORD” in the right pane.
Now type “DisableAntiSpyware” as the new name of DWORD and then double-tap on it.Set the value from 0 to 1 and then click “OK” to save your changes.After the above process Windows Defender will permanently turn off, and you can’t see this error on your device again.If you don’t wish to edit your registry, you can turn off Windows Defender via “Group Policy Editor.”Here are the steps to follow:Tap the Windows + R button on your keyboard and then type “gpedit,msc.” And then, hit the “Enter” button or tap “OK.”When the Group Policy editor appears on the screen, navigate to the left pane and select “Computer Configuration” click “Administration Template” hit Windows Computer” and then click “Windows Defender.In the right pane double-tap on Disable Windows Defender.”Click the “Enable” button and then select “Apply” and hit “OK” to save your changes.Now restart your PC and check for improvement.Add Problematic File into Exclusion ListIf you are facing this error when you are trying to access any files, it is possible that there is a problematic file.
Simply add it to the Exclusion list to fix the problem.Reinstall Antivirus“Operation did not complete successfully” error may occur due to improper installation of antivirus.
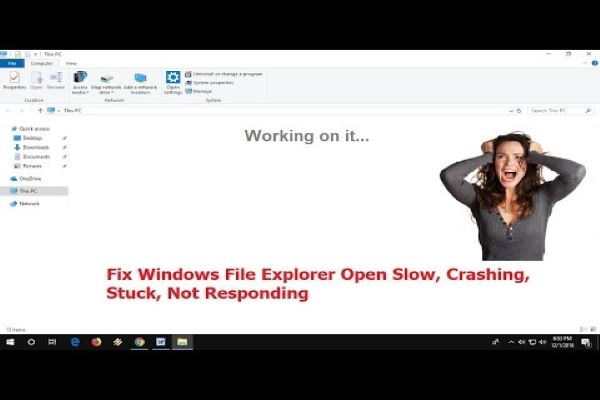
File Explorer is an in-built management application on Windows 10.
File Explorer is a great application to access folders and files that are stored on your Windows 10 operating system.
However, at times the File Explorer becomes slow.
If you are facing the same issue, then read on and find the solutions.Ways to Fix Slow File Explorer on Windows 10 , Blog-antivirusIn this article we have mentioned seven possible solutions to fix slow File Explorer on Windows 10.Disable CortanaChecking Quick Access ListChange Folder OptimizationUse Windows + E HotkeyReset File Explorer to DefaultChange Settings of File ExplorerCreate a new shortcut for File ExplorerDisable CortanaCortana is a personal virtual assistant Microsoft.
To fix this issue, follow the steps given below:Tap Windows + R key on your Keyboard to launch the Run command prompt.In the Run command-line, type “Regedit” and then tap on “OK.”Now “Registry Editor” launch, in the left pane move to the command “HKEY_LOCAL_MACHINESOFTWAREPoliciesMicrosoftWindowsWindows Search” If this key is not available, then you have to create it.Now right-tap on the “Windows button and then select “New” and hit “Key.”Now you need to write “Windows search” as the new name of the key.When you launch the “Windows search”, right-tap on the empty storage that appears on the right pane and then select “New” hit DWORD 32-bit value.Type “AllowCortana” as the name of DWORD and double-tap on “AllowCortana” DWORD, and then you need to se5t its data value “0.”Tap the “OK” button to save your change.Now close “Registry Editor” and restart your operating system and then check for improvement.Checking Quick Access ListHere are the steps to follow:Launch the “File Explorer.”Find the problematic folder into the Quick access drop down menu in the left pane.Right-tap on the folder that you wish to delete and then select “Unpin from the Quick access.”After the above process, the issue with File Explorer will be resolved.
Change Folder OptimizationHere are the steps to follow:Right-tap on the folder that is showing in the File Explorer and then selects “Properties” in the dropdown menu.Visit “Optimize this folder” for the General item, here you need to set value from the list to come back to “general items.’Click “Also apply this template for the entire subfolder.”Tap “Apply” and then hit “OK” to save your change.This issue occurs in several folders so you can fix this issue with this solution for every folder.Use Windows + E HotkeyAccording to several users, you can fix this issue by using File Explorer shortcuts because this issue occurs when you launch it by tapping on the icon.Although, you can launch File Explorer by tapping Windows + E hotkey on your Keyboard.After this process, File Explorer will launch and work without any issue.Reset File Explorer to DefaultHere are the steps to follow:Tap Windows + S key to launch the start button and then, type “file explorer” on the search field to launch it.Now click on the “View” button and then tap on “Reset Folder” tab.