Introduction
Data loss is a nightmare for any computer user. Whether it's due to hardware failure, malware attacks, or accidental deletion, losing important files can be devastating. Fortunately, Windows 10 comes equipped with built-in backup features that allow you to safeguard your valuable data effortlessly. In this guide, we will walk you through a simple 9-step process to create an effortless Windows 10 backup.
Step 1: Evaluate Your Backup Needs
Before diving into the backup process, assess the data you want to protect. Identify crucial files, documents, photos, and any other important data that you cannot afford to lose. This evaluation will help you determine the size of the backup storage you'll need and which method is best suited for your requirements.
Step 2: Choose Your Backup Storage Device
Windows 10 supports various backup storage options, including external hard drives, USB flash drives, network-attached storage (NAS), and cloud storage services. Select a storage device that aligns with your budget and data storage needs. Cloud storage is a convenient choice as it allows you to access your data from anywhere with an internet connection.
Step 3: Access Backup Settings
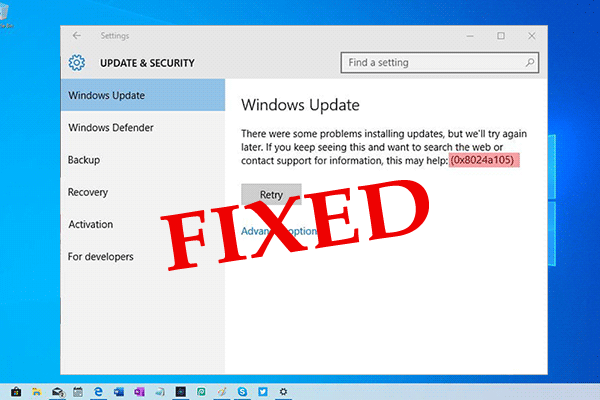
To begin the backup process, go to the "Settings" menu in Windows 10. From there, click on "Update & Security," and then select "Backup" from the left pane.
Step 4: Set Up Backup
In the Backup settings, click on "Add a drive" and choose the storage device where you want to store your backups. If you are using an external drive or a USB flash drive, make sure it is connected to your computer before proceeding.
Step 5: Choose Folders to Back Up
After setting up the backup drive, click on "More options" under the "Automatically back up my files" section. Here, you can select which folders you want to include or exclude from the backup process. By default, Windows will back up your Desktop, Documents, and Pictures folders, but you can add more folders as needed.
Step 6: Configure Backup Settings
In this step, you can choose how often you want Windows to back up your files. You can select options such as daily, weekly, or specific intervals. Additionally, you can choose how long to keep your backups and whether to delete them after a certain period to free up storage space.
Step 7: Initiate the Backup
Once you have customized the backup settings according to your preferences, click on the "Back up now" button to start the backup process. Windows will now begin copying your selected files to the designated backup storage device.
Step 8: Verify Backup Completion
After the backup process finishes, it's essential to verify that your data has been successfully backed up. Open the backup drive and check the folders to ensure all your important files are present. Double-checking gives you peace of mind and ensures you have a reliable backup of your data.
Step 9: Periodic Backup Checks
Creating a backup is not a one-time task; it requires periodic checks to ensure that your data stays protected. Review your backup settings regularly and update them as needed. Additionally, run test restores occasionally to confirm that you can retrieve your files from the backup device without any issues.
Conclusion
Data loss is an unfortunate reality, but with Windows 10's built-in backup features, protecting your important files has become easier than ever. By following this simple 9-step guide, you can set up an effortless backup solution for your Windows 10 computer. Remember, regular backups and periodic checks are the key to ensuring the safety of your valuable data. So, take the time to create a backup strategy today and safeguard your files from any potential mishaps.


If yes, then you have come to the right place.
In this article you will learn a simple way to make a backup of your computer effortlessly.The backup you are going to create with the help of this article will include the whole system.
All you need to do is create a backup using this article that is a pretty easy process.When you want to restore your computer using your backup, you will need a Windows 10 Bootable USB drive.
Follow the below mentioned steps to create a backup of your whole Windows 10 computer:First and foremost, hit the “Windows + D” keys to ensure that you are on the home screen.
On your keyboard, press the “Windows + I” keys at the same on your keyboard to trigger the Settings.In the Settings of your system, tap the Update & Security option.Now head to the Backup option.Underneath the “Looking for an older backup?” option, press on “Go to Backup and Restore” option (for Windows 7) .On your left side menu, head to the “Create a system image” option.Inside the “Where do you want to save the backup?” option, press the option saying “On a hard disk” option.In the drop-down menu, choose the storage path to save all the backup files of Windows 10.Now, click on Next.Choose the extra drives or partitions that you might wish to add in the backup.Hit on Next.Head to Start backup icon.Now hit the “No” icon.Hold tight because the backup process will now start and wait until it wraps up.Hit the Close button to exit the wizard.Voila, you have successfully created the complete backup of your Windows 10 PC.
Eject the portable hard drive once the all process wraps up and then safely store it somewhere in your house.


Benefits of Fashion Design SoftwareAs we go digital, the fashion Industry is also converting to digitization.
Below are the few benefits of Fashion Design Software.Minimal Wastage- Designers who work on online design software have a high chance of wasting less than designing clothes manually.Cost-cutting- There will be a cost-cutting when we are working online.
Also, you don't need to rent a room for designing clothes.Easily Editable- There are many examples where we have seen many mistakes in the clothes.
Thanks to the online software, designers can quickly draw their designs and modify them according to customer needs.Rendering Techniques- All the fashion designing software has rendering techniques that save time.Collaboration- Designers working on online fashion designing software can cooperate with clients easily.Easy Share- Designing the clothes digitally takes less time, and you can also share your designs to your customers for correction.Features of Fashion Designing SoftwareEvery software has its specifications and features.
Like Designing software, they also come with excellent features that help designers add enough creativity to their designs.3D SolutionCan export designApparel toolsLimitless designsAdd color, patternsSketchFabric MatchingFree Fashion Design Software List for Windows 10ValentinaValentina is free and open-source fashion design software and was designed in 2013 by Roman Telezhinsky.
This software allows you to use colors, different patterns, and styles to make a creative design.FeaturesHaving around 50 PatternsEasy to downloadPatterns based on Mathematical formulaEasy synchronizationBlenderBlender is another free fashion designing software packed with a 3D creation suite.


AOMEI Backupper is Top Backup computer software.
It backup and restore your data to save your computer from crashing or disaster.
It is backup software to make sure data security with easy and fast surgeries AOMEI Technology is an up-and-coming supplier of innovative hard disk partition management, dependable backup & restore solution.Chengdu AOMEI Tech – Most Trusted Software for Windows Backup and Rest